Welcome back to my “how to stencil” series during which I’m also highlighting the stencils I designed for the most recent TCW (The Crafter’s Workshop) release. Today we are exploring TCW956: Viney Flowers.
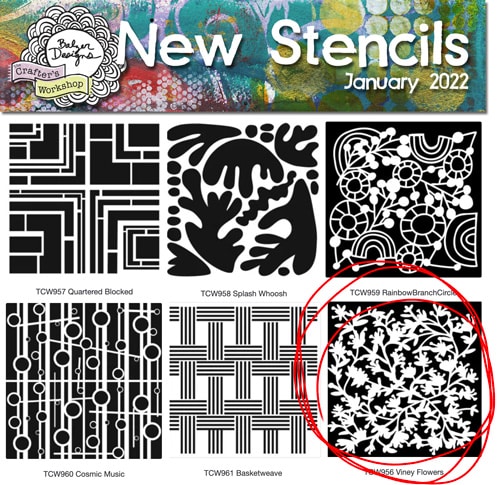
I originally designed it and cut it as a stencil for myself and I simply couldn’t stop using it…
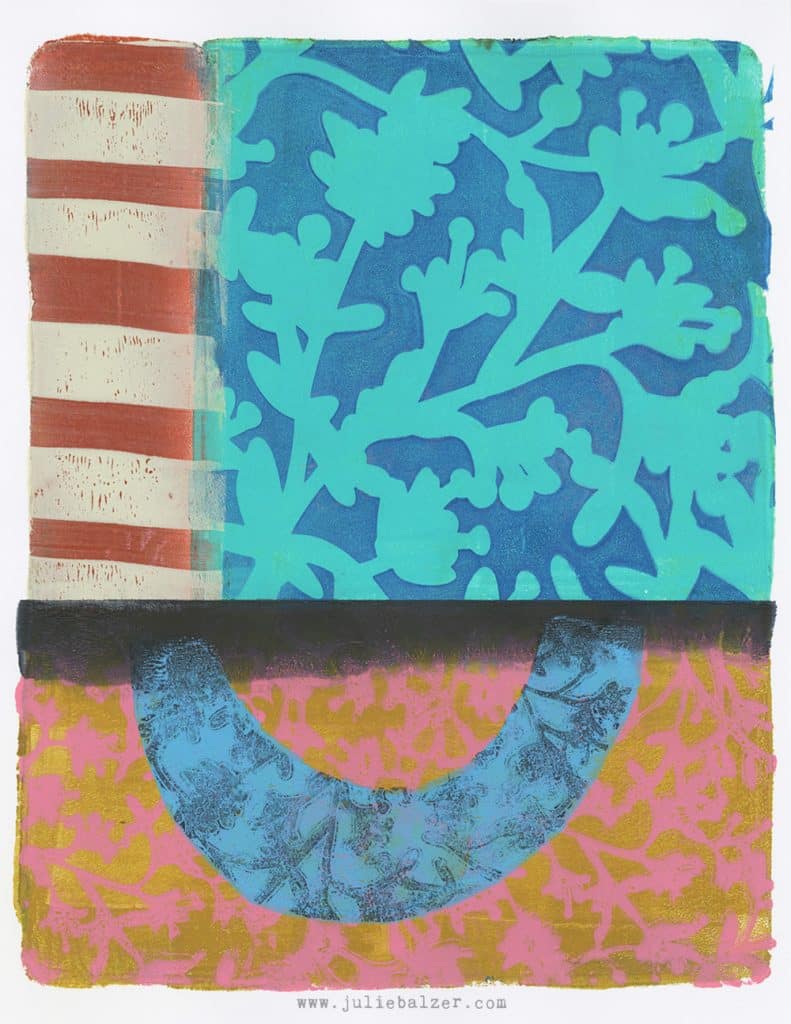
…so I decided it had to be an official stencil that everyone could buy.
How to Stencil with Ink Pads on the Gelatin Plate
In this short tutorial video I’m sharing how to stencil with ink pads on the gelatin plate. It’s easy and fun and great for folks who don’t love using acrylic paint. Stamp pads are easier to clean up and make very little mess.
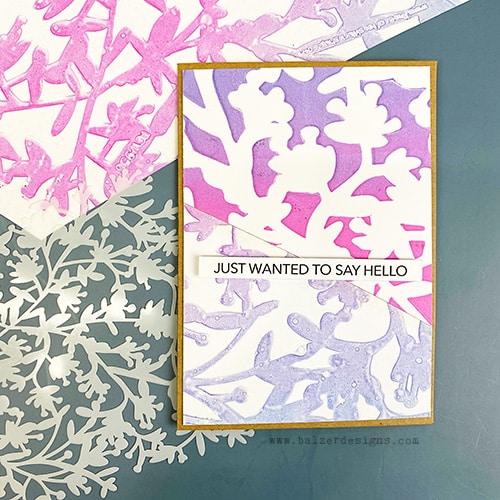
This is the card that I made in the video:
Ideas of Note
Here are the lessons I hope you take away from this video:
- Use the supplies you already have. The technique doesn’t depend on one specific kind of ink. Dye, pigment, archival, or other ink pads can all give you different results.
- A brayer can turn separate colors into a transition. Rather than treating each ink color as an isolated area, blending them on the plate creates movement and a more unified surface.
- Masks give you two images for the price of one. The first pull creates one version of the design, while the ink left underneath the mask can create an opposite or “ghost” version.
- Don’t assume the leftover ink is waste. There may be another print hiding on the plate. Before cleaning up, see what else you can pull.
- Positive and negative versions of the same design naturally work together. Because they share imagery, color, and scale, they can be combined without needing a lot of additional problem-solving.
- Pay attention to which side of a stencil or mask you’re using. Residual paint, ink, or text can transfer unexpectedly. Sometimes that’s interesting; sometimes it’s a reminder to flip or clean the stencil.
- Cutting related prints together creates instant cohesion. Stacking two papers and cutting through both at once guarantees that the edges will fit together, even if the cut is irregular.
- An imperfect cut can be a design choice. The “messy diagonal” is more visually interesting than a perfectly straight division and introduces energy into an otherwise simple composition.
- Contrast can come from reversal, not just color. Two prints made with the same colors can still feel dramatically different when the positive and negative spaces are switched.
- Simple prints can become raw material. A print doesn’t have to be a finished artwork. It can be cut apart, combined with another print, layered, collaged, or turned into something completely different.
- Make multiples while you’re already set up. One printing session can generate enough material for several finished pieces. Repetition makes efficient use of both your materials and your creative momentum.
- Simple compositions benefit from one small point of emphasis. Raising the sentiment with foam adhesive adds just enough physical dimension to distinguish it from the surrounding pattern.
- Look for systems that create variation. The same basic process—ink, print, ghost print, cut, recombine—can be repeated again and again while producing different results.
The larger art practice lesson for me is: one printing action can generate a whole family of possibilities. Before moving on, investigate the plate, the mask, the ghost image, the scraps, and the relationships between the prints. There is often much more material there than the first obvious result.
Final Thoughts
I have really enjoyed sharing these simple art ideas with you. Do let me know what kind of stencil ideas you’re looking for next time around!
Stencil links if you wish to buy any of them:
- TCW956: Viney Flowers 12×12: https://shrsl.com/3clb8 6×6: http://shrsl.com/3clbe
- TCW957: Quartered Blocked 12×12: http://shrsl.com/3clbg 6×6: http://shrsl.com/3clbh
- TCW958: Splash Whoosh 12×12: http://shrsl.com/3clbj 6×6: http://shrsl.com/3clbm
- TCW959: Rainbow Branch Circle 12×12: http://shrsl.com/3clbq 6×6: http://shrsl.com/3clbu
- TCW960: Cosmic Music 12×12: http://shrsl.com/3clbw 6×6: http://shrsl.com/3clc2
- TCW961: Basketweave 12×12: http://shrsl.com/3clc5 6×6: http://shrsl.com/3clc9
Other posts in this how-to stencil blog series:
- Six New Stencil Designs from Balzer Designs: Unboxing Video
- How to Stencil: Stenciling with Ink Pads on the Gelatin Plate! (this post)
- How to Stencil: Some Tips on Using a Stencil Brush
- How to Stencil: Making Ghost Prints with Stencils on a Gel Plate
- How to Stencil: Stamping Through a Stencil
- How to Use Spray Ink with Stencils: Get Two Prints from One Spray
- How to Stencil: Stamping with a Stencil

Wonderful!
Love the stencil and now I know I can use ink pads!
Have fun!
Aw, Im so glad to hear that! Thank you, Ellen!
Love this! Thank you Julie! I’m so sad about Make It Artsy!
Me too.
Love quick tips. Short enough to inspire with time to create. Thank you!
Yay! Im so glad you enjoyed it!
Cool! Thank you!
Love this! Thank you, Kim
Thanks Julie. Nice quick video with great results
Lovely stencils and great tutorial! Thank you!
Thank you!