One of my favorite creative exercises is asking, “What else could this be?” Today’s card is all about being lazy and reimagining an existing stamp instead of carving a new one. You don’t always need a new tool or a new supply. Sometimes you just need to look at what you already have in a new way!
I carved this “flower” stamp several years ago.
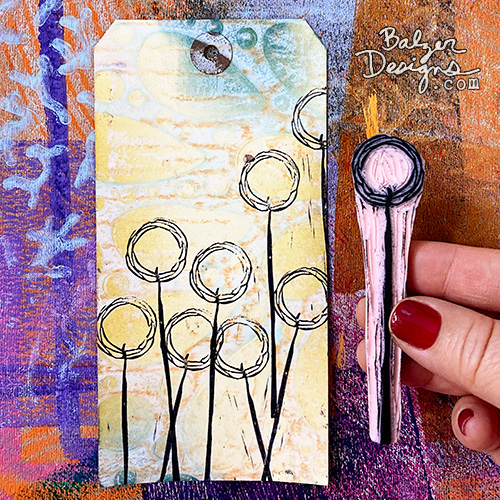
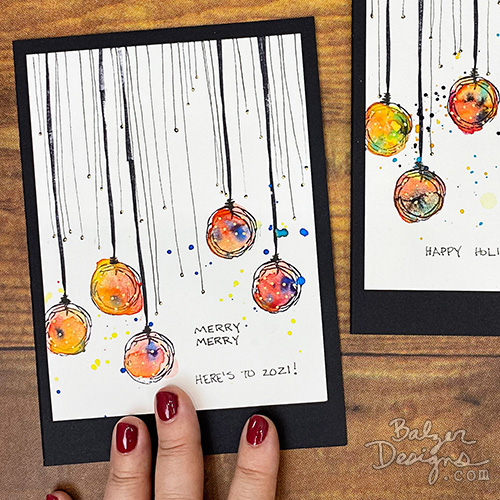
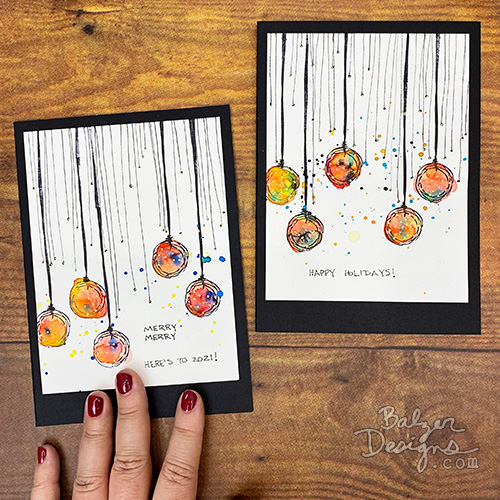
But over the weekend I decided I could turn it upside down for a Christmas Ball Celebration!

Step-by-Step Mixed Media Video Tutorial
Watch the video for the quick and easy how-to:
Supplies:
- watercolor paper
- Pigma Micron PN
- black ink
- hand carved stamp
- craft foam
- scrap paper
- optional: clear ruler
- QoR watercolors
- paintbrush
- gold paint pen
- tape runner
- blank black card
Lessons from the Video
Did you catch all of these art lessons in the video? There is lots to take away besides the steps to making a card!
- Look at your tools differently. A stamp carved as a flower can become a Christmas ornament simply by changing its orientation.
- Repurposing is a creative skill. Instead of asking only, “What is this tool for?” ask, “What else could this become?”
- Waterproof materials matter when combining drawing and watercolor. Permanent ink and pen let you paint freely without muddying your line work.
- Imperfection can create energy. The uneven lines, loose spacing, splatters, and scribbly details help the card feel lively rather than overly controlled.
- Handwriting adds personality. Your handwriting doesn’t have to look like calligraphy to make a handmade card feel more personal.
- A ruler can provide just enough structure. Using a transparent ruler as a baseline keeps handwriting straight without making it feel rigid.
- Loose watercolor doesn’t require complicated painting skills. Dropping color into a simple shape and allowing colors to mingle can produce beautiful results.
- Wet-on-wet effects are a choice. Splattering while the ornaments are wet lets colors merge; waiting until they dry creates crisper marks.
- Small finishing details can transform a simple design. A few drawn ornament caps, gold dots, and tiny highlights make the shapes read more clearly as ornaments.
- Contrast makes a limited palette more interesting. Adding teal and indigo to the warmer ornament colors creates more visual variety.
- Simple shapes leave room for customization. The ornaments could be striped, patterned, multicolored, detailed, or extremely loose.
- You don’t need specialized holiday supplies. A few basic art materials—and even a non-holiday stamp—can become a festive handmade card.
In Closing
I hope you enjoyed this tutorial. In fact, I hope you enjoyed this whole week of card tutorials! I had a great time putting them all together for you!
Happy Holidays!
Check out the rest of the tutorials in this series:

Quelle jolie idée !
I want to make every card you’ve done so far!
Love them all!
I’m inspired by every card!
Loved this Julie! So festive and very cool how the flower stamp became the bells! Loved your coloring and the tips you provided.
love the versatility of your stamp and your cards are great.
Love them!
I love this! What a good idea!