
This tutorial will show you how to make a folded canvas book, otherwise known as a one page wonder or a zine folded book. It’s one sheet of paper or canvas or a paper bag that you fold into a book! This is a great way to turn old paintings that didn’t work out into a little book, or as this tutorial shows you, take a blank piece of paper and make it into something special. Enjoy!
Scor-It Project of the Month
I did a little project for Scor-It in October 2009. And I wanted to share it here as well! Sign up for their newsletter to get fun new projects delivered each and every month!
In case you don’t know what a Scor-It Board is, here’s a photo:
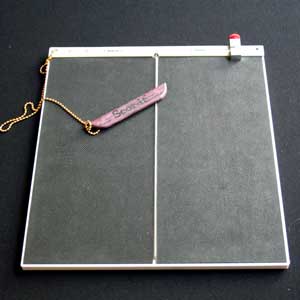
Basically, there’s a thin metal edge running up the center of the board. The wooden tool has a groove in it, which the metal edge fits into. You put your paper or transparency or whatever onto the metal edge and run the wooden tool over it, thus creating a perfect score. You can see it in motion below:
I have to admit that I thought this tool was overkill at first. Having used a bone folder and a piece of fun foam to make my creases for years, I thought it was silly to have this whole huge tool. But, it really is awesome. It creates a fold that doesn’t ever crack your cardstock and it really makes transparencies bend to your will. I’ve been pleasantly surprised by how many times I have taken my board out and used it since I got it about a year ago.
So, now let’s get to the project:
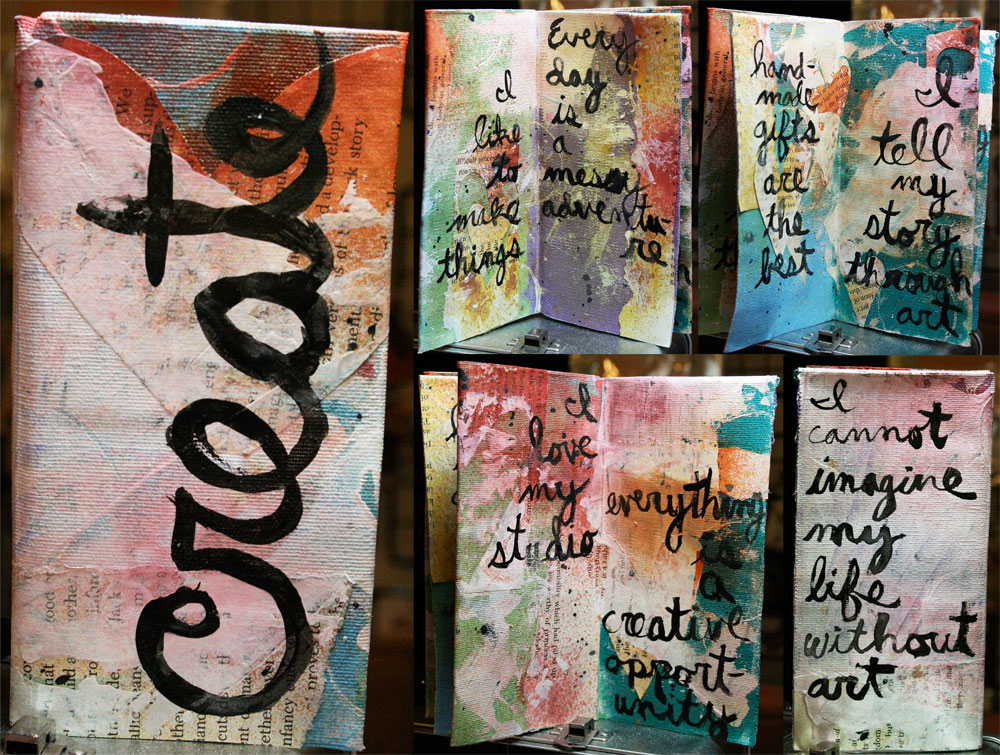
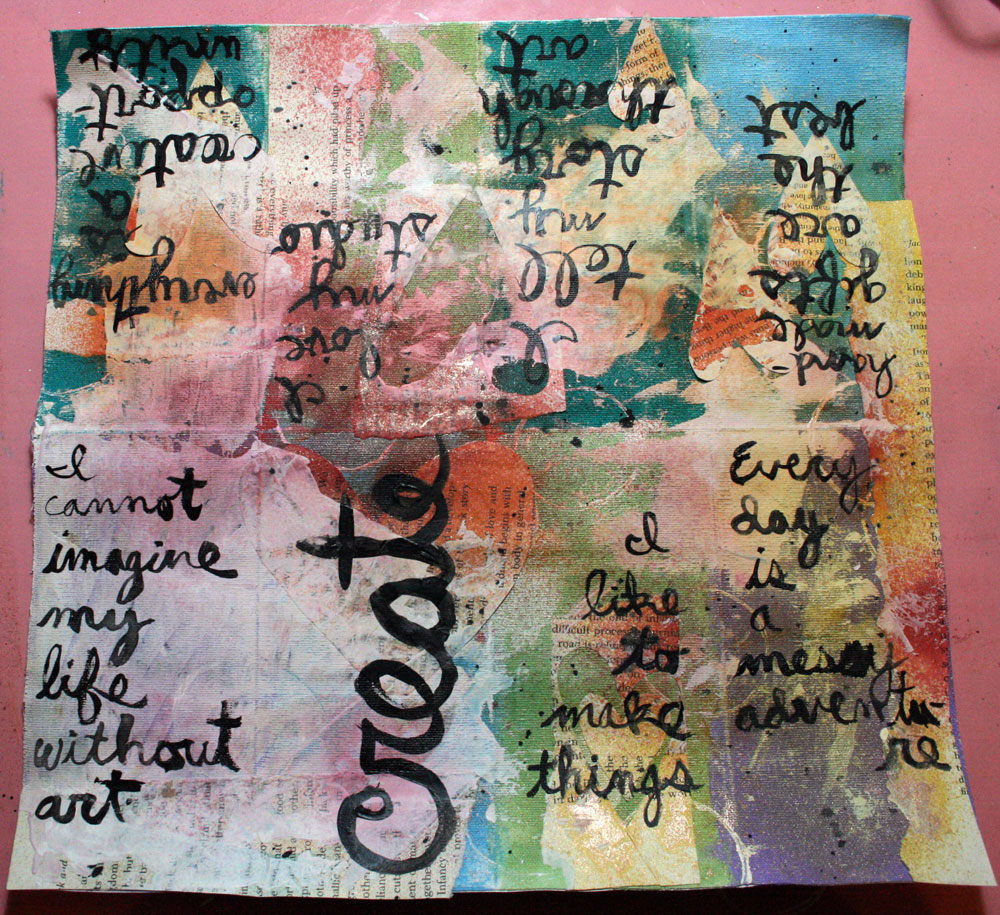
It’s a folded canvas book. I used mine to write some thoughts on the act of creating. Obviously, you can do whatever you’d like. Here’s how it came together for me:
Materials
These are the materials I used, but I always encourage you to use what you have on hand. Feel free to ask me about substitutions!
- Scor-it Board
- 12×12 Sticky Back Canvas from Ranger – 2026 ETA: This product is no longer made. Use a regular piece of cotton duck canvas and add your own adhesive, or simply use paper — no adhesive needed!
- Acrylic Paint
- Book Page
- Scissors
- Gel Medium
- Paintbrush and Water
- Gesso
- Watercolor Paints (I used Koi by Sakura)
- Box Cutter
- Glass Mat or Self-Healing Mat
- Adirondack Color Wash from Ranger
- Heat Gun
- Metal Edge Ruler
Step One: Score the Sticky Back Canvas
Using the Scor-it Board, score the Sticky Back Canvas at the 3, 6, and 9 inch marks.
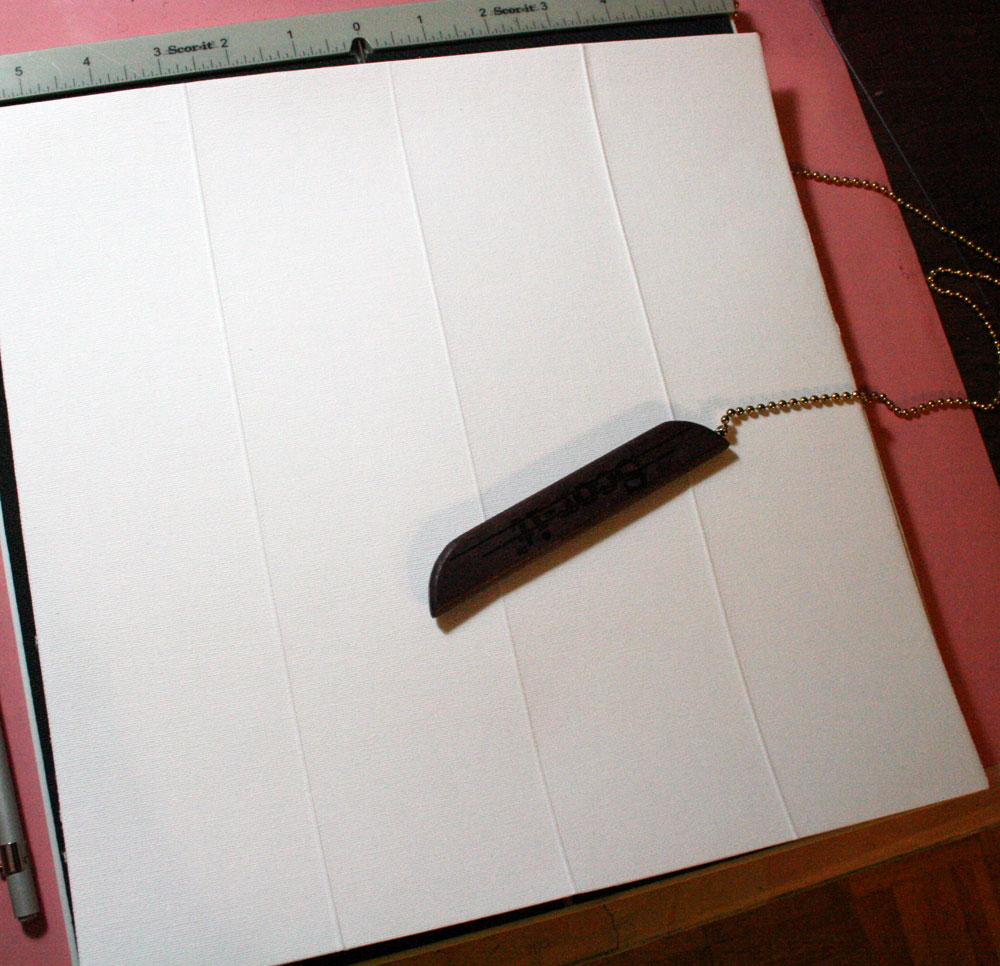
Turn the Sticky Back Canvas 90º and score at the 6 inch mark.

Each of the sections will be a page in the finished book.
Step Two: Decorate the Sticky Back Canvas
I chose to decorate my book with layers of paint and ink and book pages. You could use patterned paper or photographs or anything else you’d like. Here are the steps I took:
1. Paint each of the sections with acrylic paint.
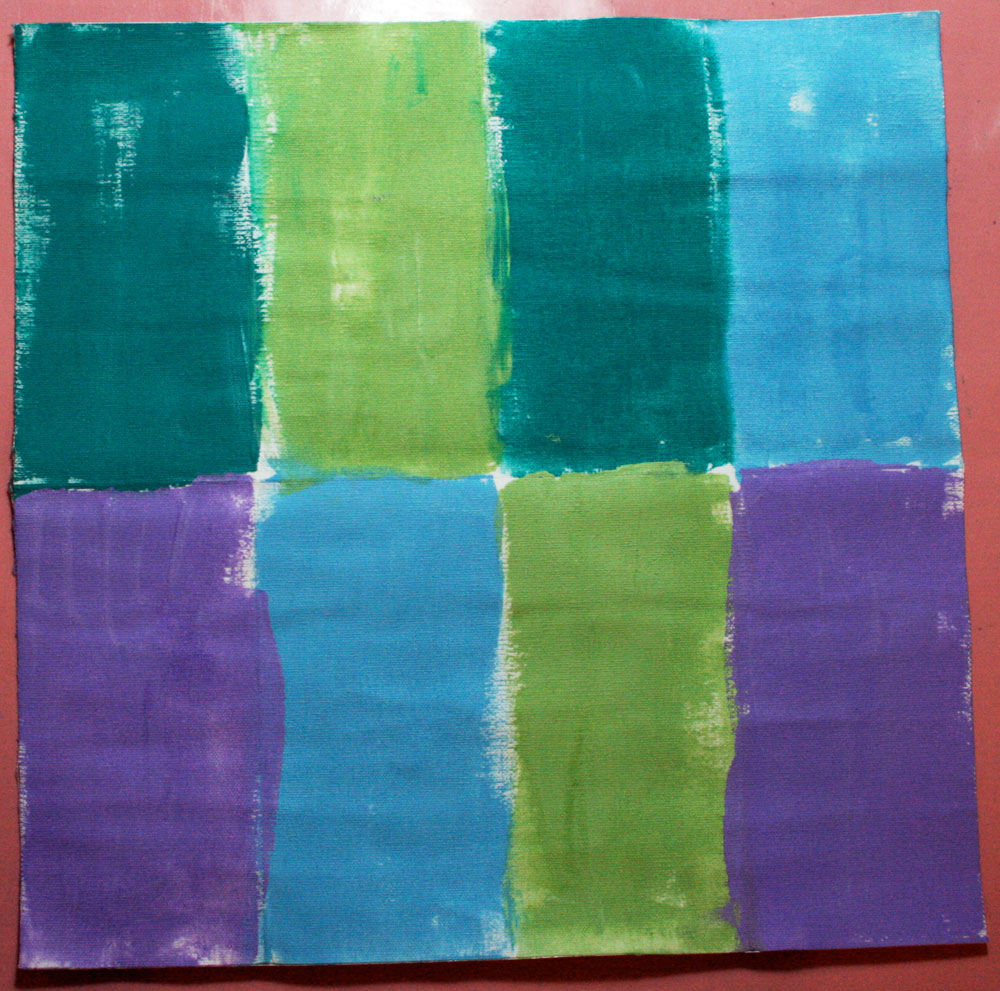
Don’t worry about staying in the lines. Let the paint dry or dry with a heat gun.
2. Using a paintbrush, put some gesso on the end of an empty toilet paper tube.
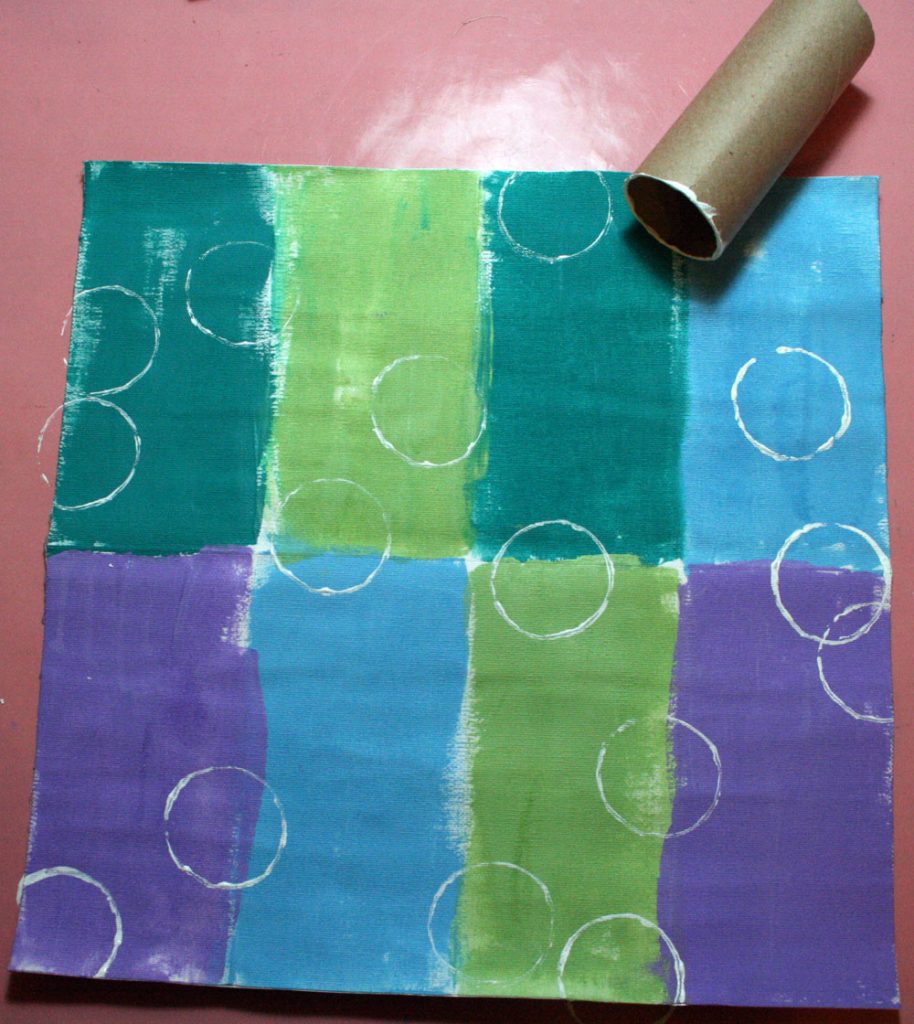
Use that painted toilet paper tube as a stamp and add some circles to your canvas. Let the paint dry or dry with a heat gun.
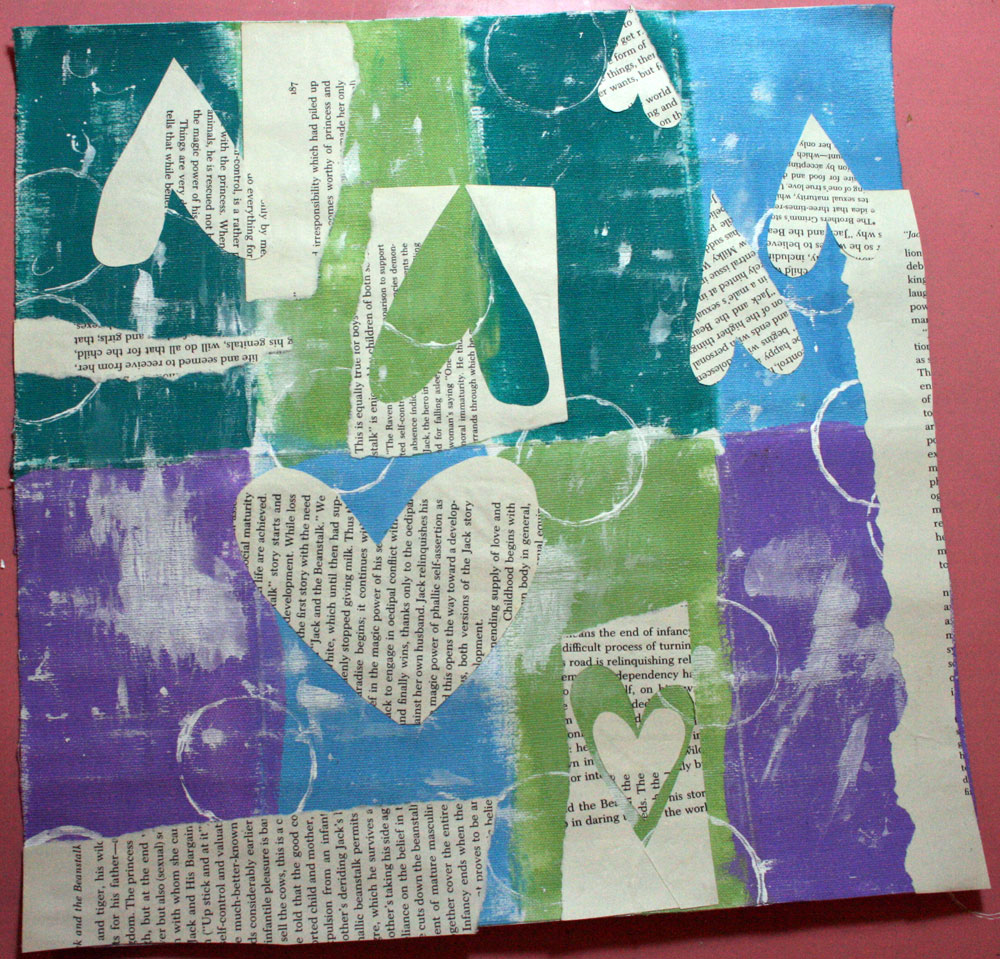
3. Add some flecks and drops of gesso over the entire canvas.

Don’t be afraid of ruining it! We’re creating texture and layers and the end result will be fabulous! Trust the process. Let the paint dry or dry with a heat gun.
4. Cut shapes (I used hearts) and tear strips from a book page. Adhere these randomly using a thin coat of Gel Medium.
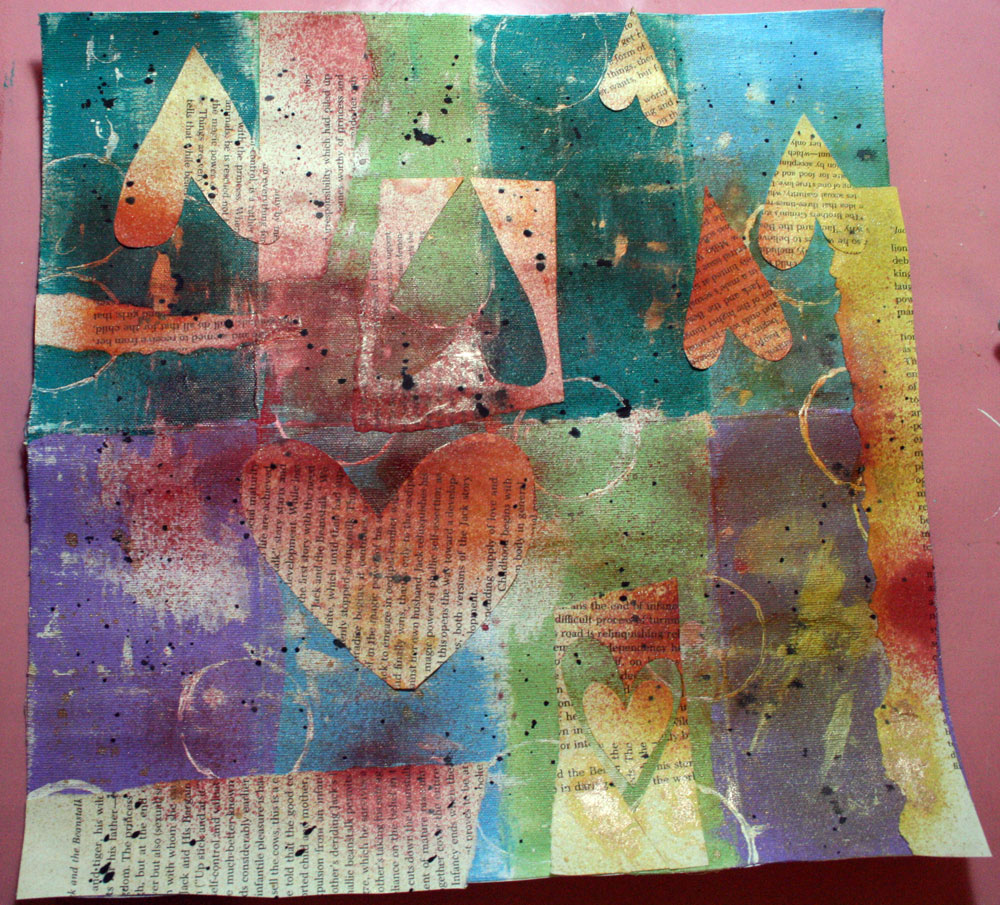
5. Spray the canvas with several colors of Adirondack Color Wash. Dry with a heat gun.
6. Add some more gesso randomly.
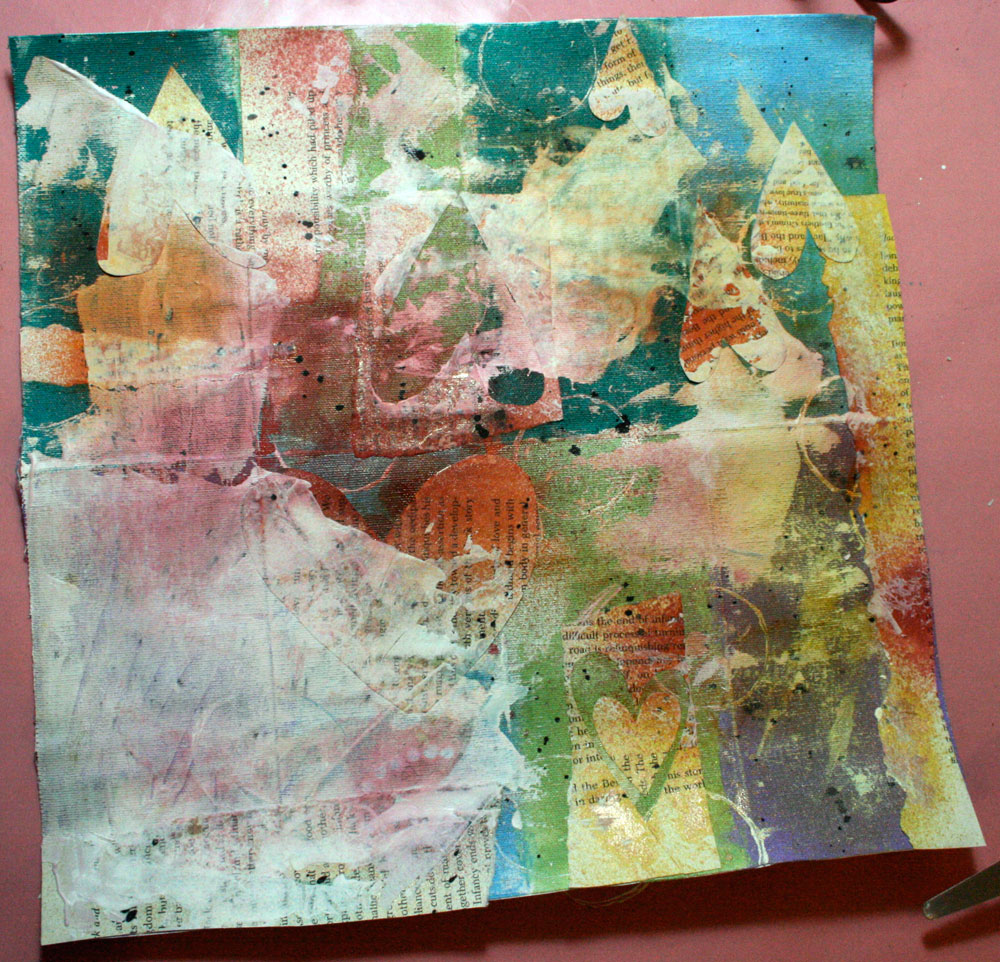
Again, we’re trying to create visual texture. Don’t be afraid of ruining it. Use a very thin coat, diluting with water if necessary. Let the paint dry or dry with a heat gun.
7. Using black acrylic paint, paint words or thoughts on each page of the book. Let the paint dry or dry with a heat gun.
Step Three: Assemble the Book
If you’ve added a lot of layers, you may want to re-score the canvas using the Scor-It Board before you begin to assemble it.
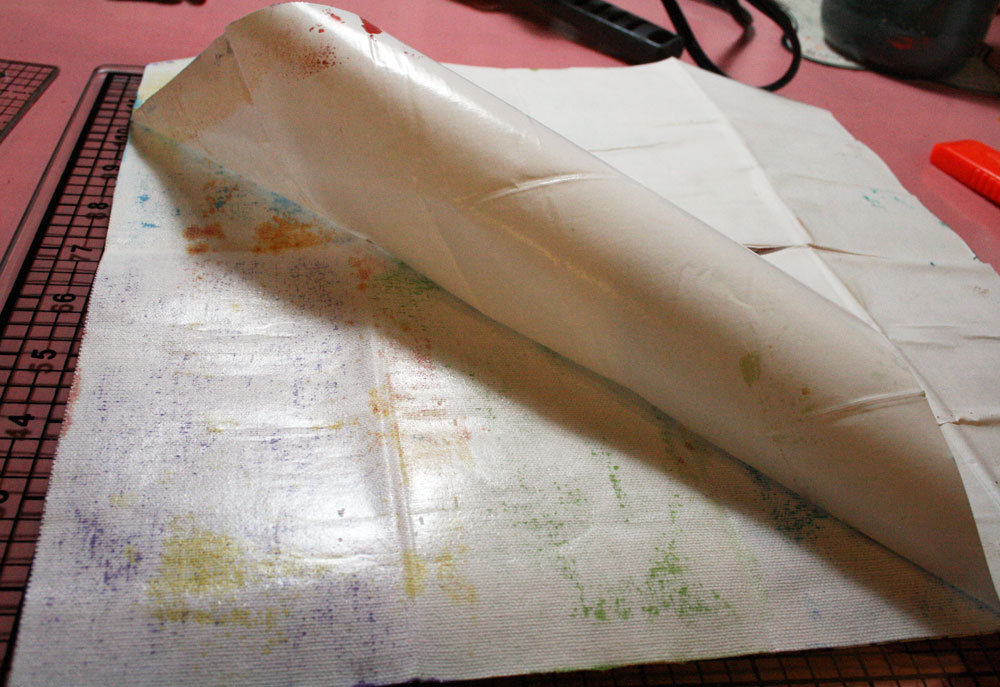
1. Using a box cutter and a metal edge ruler, and working on a glass mat. Cut across the 6 inch score mark, between the 3 and 9 inch scores.
I have marked the photo in red to indicate the cut.
2. Remove the paper backing from the Sticky Back Canvas, exposing the adhesive.
3. Fold the canvas in half (along the 6-inch score) and pull the cut you made open.
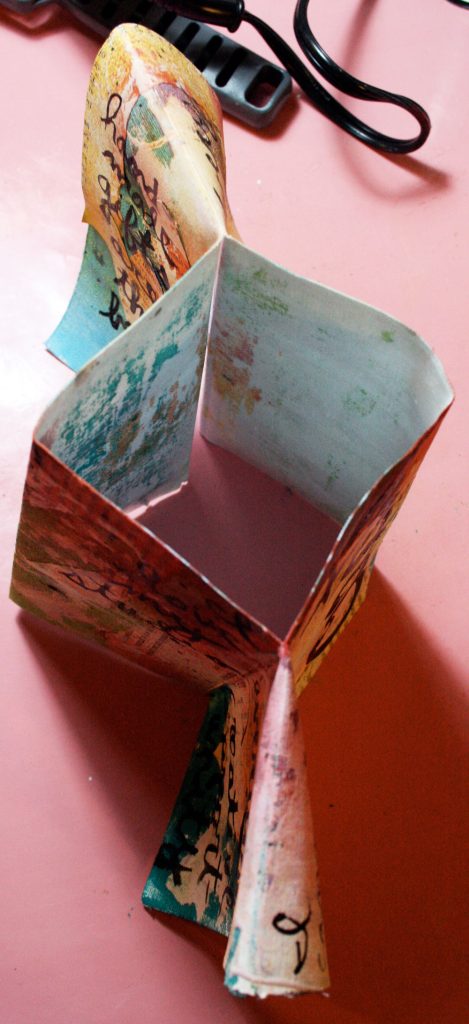
This is the basic structure of your book.
4. Carefully begin to push the Sticky Back Canvas together to form four flat pages.
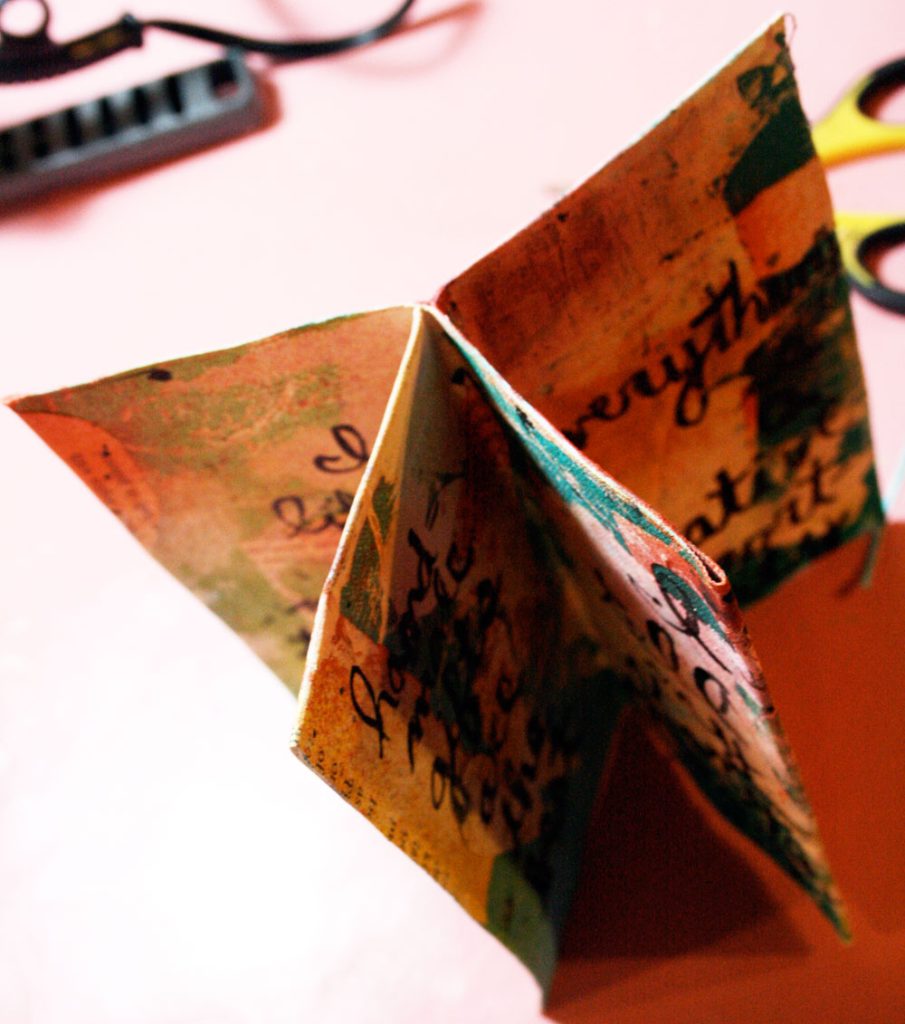
5. Gently coax the four pages around to create your book! If any of the adhesive from the Sticky Back Canvas is exposed, use a pair of scissors to trim it away.

Hope you enjoyed the tutorial! I had a lot of fun making it.
Thanks for stopping by!

I enjoyed it a lot! Which reminds me of the paint-a-palooza! I really need to go back and refresh my memory. I feel like painting now and it’s your fault :D.
What a fun tutorial !!! Love it ! Now I must buy a sticky-back canvas to do it lol !
Many thanks !
Bizzzz
Nathel from France
Second message of the day : if you are curious (and I think you are lol!), please visit my blog here :
http://nathelscrap.canalblog.com/archives/2010/01/15/16532513.html#trackbacks
I made a LO with the video-tutorial you made for Prima. Love my Lo and the way I made it !!!
Thanks !
Bizzz
Nathel from France
Thanks for showing us this process. Quite often I look at these type of pieces and try and figure out all the layers. Now I’ve had a sneak peek into yours! And it’s awesome.
You broke it down so that I can follow it…just one of the things that I love about your blog Julie. Beautiful book as well!
Hmm … I have to admit when I see the ScorIt I think Nice tool, but come on! I may have to revisit it then … I am glad to hear you were skeptical too … I wish I could test run one though. I would love to see how it works with transparencies … those aggravate me to no end!
this is *gorgeous*!! and the tutorial is perfect … thank you! congrats on the kenner nod!!
awesomeeee tutorial. ps, if julie were stuck on an island and she had to choose b/w a) food, b) water, or c) her heat gun, which would she bring??
😛
seriously…you are rocking with this stuff. I LOVE IT!!!
Very cute!!
this is awesome – thanks for taking the time to write it!
This is a beautiful labor of love, indeed. Thanks for inspiring me to be creative.
Just one little question: You mentioned you journaled with black acylic paint. How do you do this? Is this where you use your beloved nib pen? Sorry, I am still pretty new to scrapbooking.
Julie,
Just found your site, I’ve been watching you on Scrapbooking Memories and enjoyed your work. This is a cool project! TFS
Thanks for the tutorial, it’s always great to learn new tehcniques and you have amazing ideas 🙂
And I love you being so honest and true!
Greetings from Poland :*
I’ve totally been wanting to tackle a canvas and you just inspired me to get a little messy!
Hello Julie:
I clicked twice on this link, http://www.scorit.com/webisodes.html, to see Scorit in action, and was taken both times to pages that did not have anything to do with that. I think your link has been hijacked. Do you think that people search through old posts and somehow redirect the links?
Anyway, I hate to give clicks to websites that don’t deserve them, and I hate being redirected to pages that could be considered offensive also.
Otherwise, enjoyed your post and videos.