
Creating your own spray ink is an easy, cost-effective, and fun way to customize your art projects. With just a few basic supplies, you can mix colors and adjust formulas to fit your needs perfectly. Here are five different methods to make your own spray inks, each offering unique benefits.
This is a video from my class, “Getting Started with Spray Ink,” which is now available as part of the My Art Practice membership.
Supplies:
- Liquid Watercolors
- Fluid Acrylics
- Mini Misters
- Mini Mister Block
- Pipettes
- Regular Misters
- Liquitex Matte Medium
- Dylusions
- Perfect Pearls
1. Fluid Acrylic Spray Ink
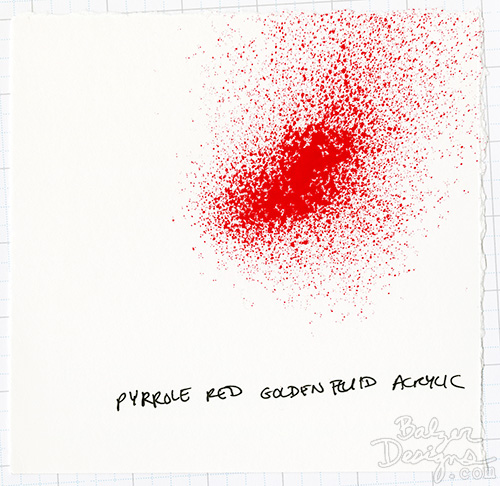
Start with an empty mister bottle. I used a mini mister from Ranger, but any clean spray bottle will work. Here’s the process:
- Fill the mister tube — less than a quarter of the way — with Golden Fluid Acrylics.
- Mix in Liquitex Matte Medium to ensure the pigments stay mixed and the ink remains fluid.
- Use a pipette to add water, leaving room in the mister to shake and mix.
- Shake thoroughly to combine the ingredients. Adjust the consistency by adding more water if the spray seems too thick or blobby.
- Something I didn’t mention in the video is that you can put a metal paint mixing ball (similar to a BB) into the mister to help with the mixing.
Pro Tip: Label your custom color right away to avoid confusion later.
2. Reinker-Based Spray Ink
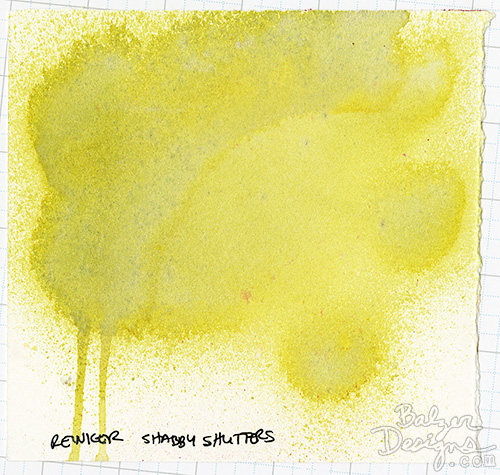
Reinkers for stamp pads, such as Distress Ink Reinkers, make vibrant spray inks without needing a medium.
- Fill the mini mister with several drops of reinker. I used “Shabby Shutters” for a green spray.
- Add water, leaving space in the mister for mixing.
- Shake well, then test the spray. Adjust pigment concentration by adding more reinker if needed.
This method is quick and perfect for making highly pigmented sprays.
3. Mixing Existing Spray Inks
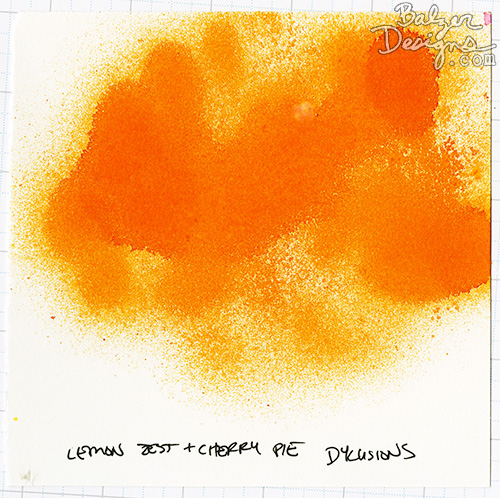
Create custom colors from existing spray inks.
- Spray colors directly into an empty mister (e.g., red and yellow to make orange).
- Mix thoroughly (by shaking) and test on paper.
- Record the color combination (e.g., “Lemon Zest + Sweet Cherry Pie”) for easy replication.
This method is quick, easy, and allows for endless color experimentation.
4. Liquid Watercolor Spray Ink
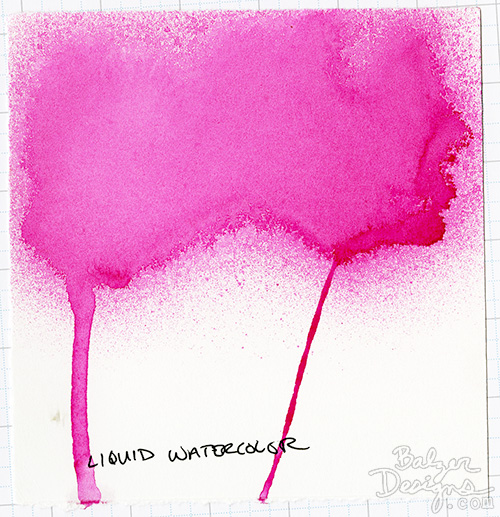
Liquid watercolors, like Dr. Ph. Martin’s, offer intense color saturation.
- Add a few drops of liquid watercolor to the mini mister.
- Add water to the mister, leaving room to mix.
- Shake well and spray onto paper.
The colors are vibrant and perfect for bold, bright effects. This is also a thrifty solution because you only need a few drops of liquid watercolor. The mister is mostly filled with water!
5. Mica Powder Spray Ink
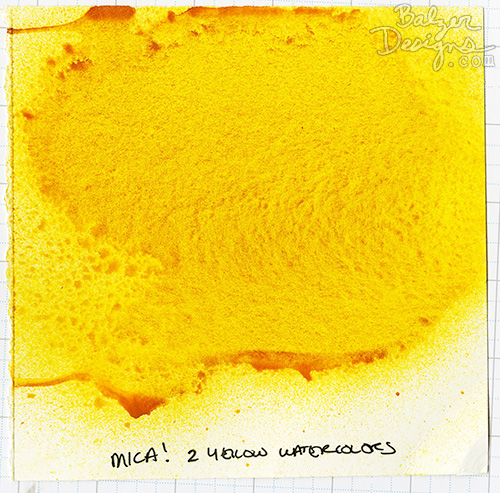
For a shimmery effect, use mica powders like Ranger’s Perfect Pearls.
- Add a small scoop of mica powder to a mini mister.
- Combine with liquid watercolor or reinker for added color, if you wish.
- Add water to the mister (leave room for mixing) and shake thoroughly.
- Spray generously to reveal a sparkling finish.
- Again, I didn’t mention it in the video, but you can add a metal paint mixing ball to help the spray ink mix more effectively.
This method produces stunning, shiny sprays ideal for special projects. My mix included two yellow watercolors and copper mica powder, resulting in a rich, glowing yellow-orange.
Ideas for Using Spray Ink
Be sure to check out these tutorials I made for you on using spray ink:
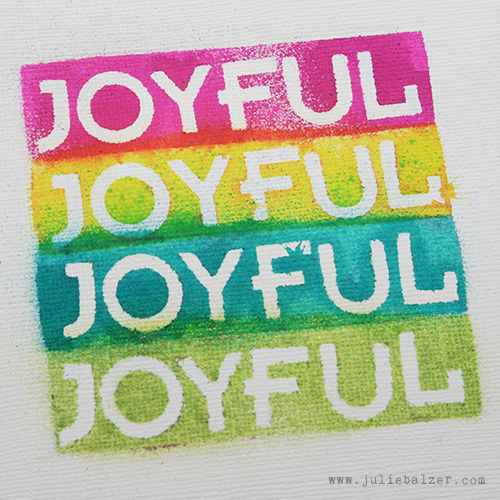
- Spray Boxed Letters
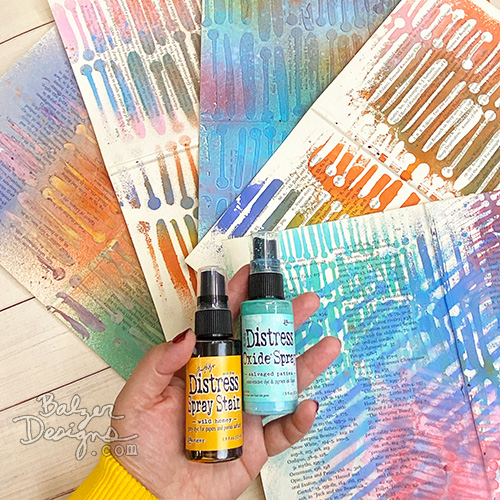
- Stencils & Spray Ink How To
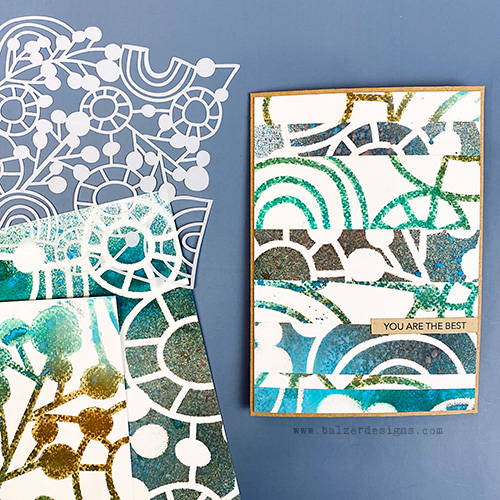
- Stencils & Spray Inks: Distress Oxide and Distress Stain
Final Thoughts
Making your own spray inks allows you to tailor colors and finishes to your art style. Each method offers distinct creative possibilities. Whether you want bold pigments or shimmering highlights, there’s a DIY spray ink recipe for you. Plus, using what you already own is a thrifty alternative to buying pre-made spray inks.
One last tip: Don’t forget to label your creations and make note of any special formulas so that you can recreate them as needed!
Please let me know if you have any questions.
Pingback: Stencils + Spray Ink Techniques: Distress Oxide & Distress Stain - Balzer Designs Blog