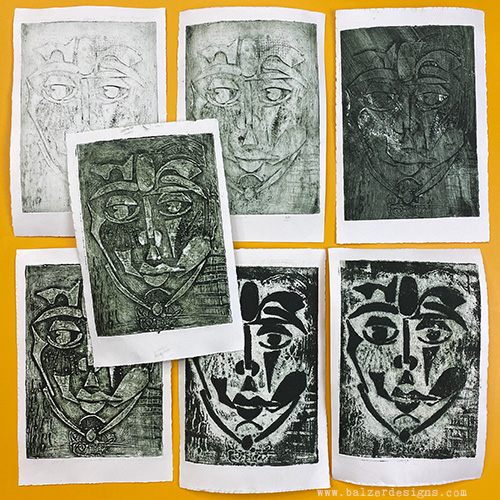
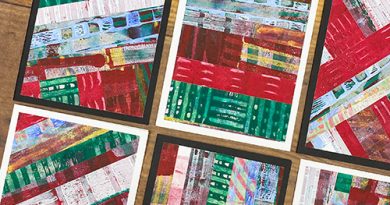
Collagraph is a printmaking technique that involves creating a collaged plate from various materials and then using it to make prints. Here are a few that I made back in 2021:
How to Create a Collagraph
Here is the basic how-to:
Gather materials: Start by collecting materials for your collagraph plate. You can use a variety of items such as cardboard, textured papers, fabric scraps, string, leaves, or any other relatively flat materials that have interesting textures or patterns.
Choose a base: Select a sturdy base material for your collagraph plate. A thick piece of cardboard or mat board works well. You can also buy acrylic printing plates. Make sure whatever you choose is large enough to accommodate the size of print you want to create.
Plan your design: Visualize or sketch out your design on the base material. Think about the composition and the textures you want to incorporate into your plate. Consider how the materials will interact with ink or paint during the printing process.
Build the plate: Arrange and layer the materials on the base according to your design plan. Create different levels and textures by overlapping or stacking materials. Secure everything in place using glue. Be sure everything is firmly attached.
Seal the plate (if you wish): Once the materials are arranged on the plate and the glue is dry, you can apply a thin layer of clear varnish or gloss gel medium over the entire surface or part of it. Wherever the plate is sealed provides a smooth, even surface for ink application.
Allow drying time: Let the collagraph plate dry completely. This can take several hours or overnight, depending on if and/or what you used to seal the plate. Make sure it is thoroughly dry before moving on to the next step.
Ink the plate: Apply intaglio ink to the collagraph plate. Use a brayer to spread a think coat of ink evenly over the entire plate.
Wipe off excess ink: Take a clean, soft cloth or tarlatan and gently wipe the plate’s surface to remove excess ink. You can also use newsprint to remove even more ink. This should leave the ink only in the recessed areas of the plate.
Print the image: Place a sheet of dampened printmaking paper or other suitable paper on top of the inked collagraph plate. Apply even pressure by running it through a printing press or using a wooden spoon to transfer the ink from the plate to the paper.
Lift the print: Carefully peel the paper off the plate to reveal your collagraph print. Allow it to dry completely.
Repeat and experiment: You can create multiple prints from the same plate by re-inking and printing again. Additionally, feel free to experiment with different color combinations, inking techniques, or altering the plate’s texture to create unique variations.
Fixing Bad Prints is Possible
Back in April, during the Member Livestream, I made some collagraphs that didn’t turn out that well. So, I fixed them. Watch the video for more:
Takeaways from This Studio Vlog
Here are few things that I hope you’ll take away from the video above:
- A “failed” piece is often just a starting point. Artwork that doesn’t meet your expectations can become the foundation for something stronger.
- Good materials are worth revisiting. I chose to keep working on these prints because they were made on beautiful printmaking paper, even though the original results were disappointing.
- Transformation happens through layers. Watercolor, collage, acrylic paint, crayon, and additional mark-making helped turn unfinished prints into resolved artworks.
- Problems can become assets. The unexpected textures, marks, and imperfections from the original prints added visual interest and complexity to the finished pieces.
- Don’t judge a piece too early. A work that feels unsuccessful in one stage may reveal its potential after additional experimentation and development.
- Persistence is a creative skill. One of the biggest lessons from this video is the value of continuing to work on a piece rather than abandoning it at the first sign of frustration.
- Every layer contributes to the final artwork. Even when much of the original image is covered, it still influences the finished piece through texture, color, and history.
- Creative problem-solving is part of the artistic process. Technical issues, unexpected results, and mistakes are opportunities to make decisions rather than reasons to quit.
- The question isn’t “Is this ruined?” but “What can this become?” Reframing disappointment as possibility opens up new creative directions.
- Sometimes the work you almost threw away becomes work you’re proud to share. I am so pleased with the finished artwork! Check out the pieces below.
Finished Mixed Media Artwork
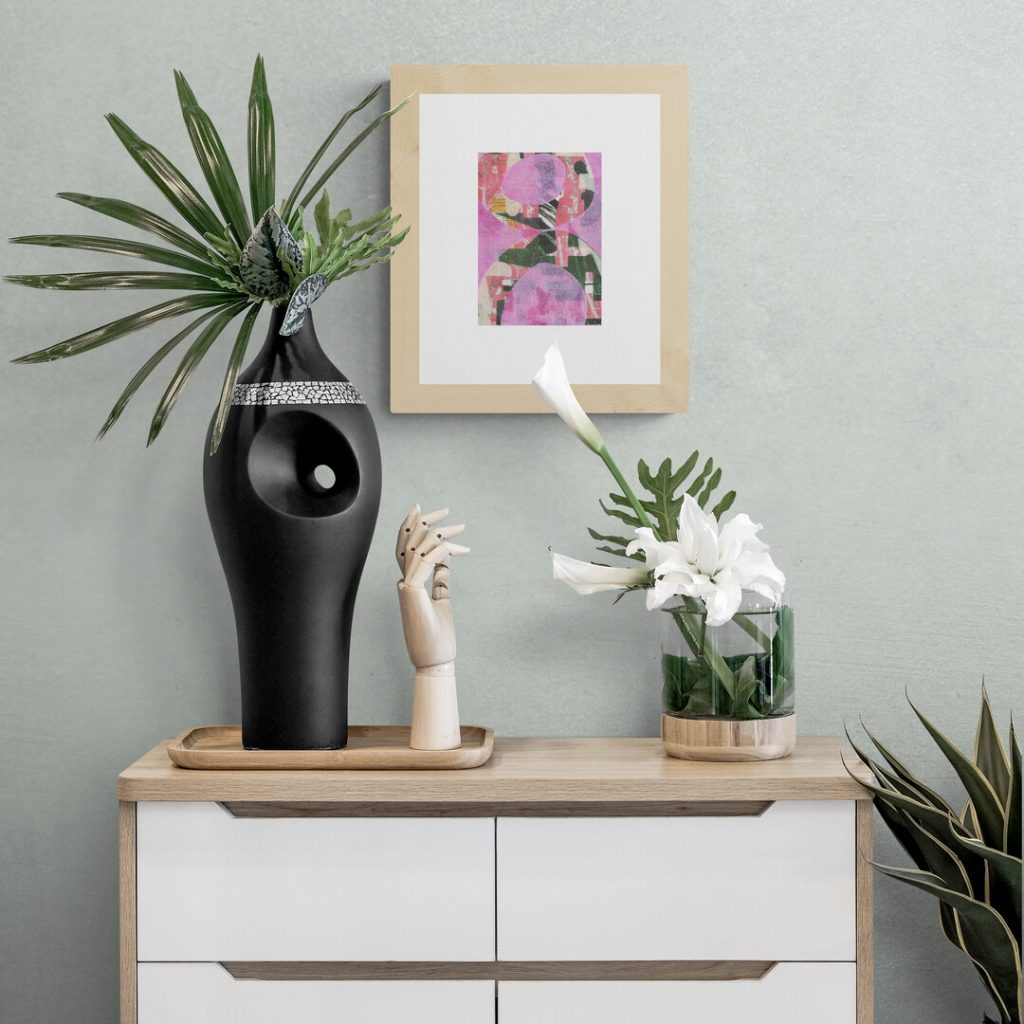
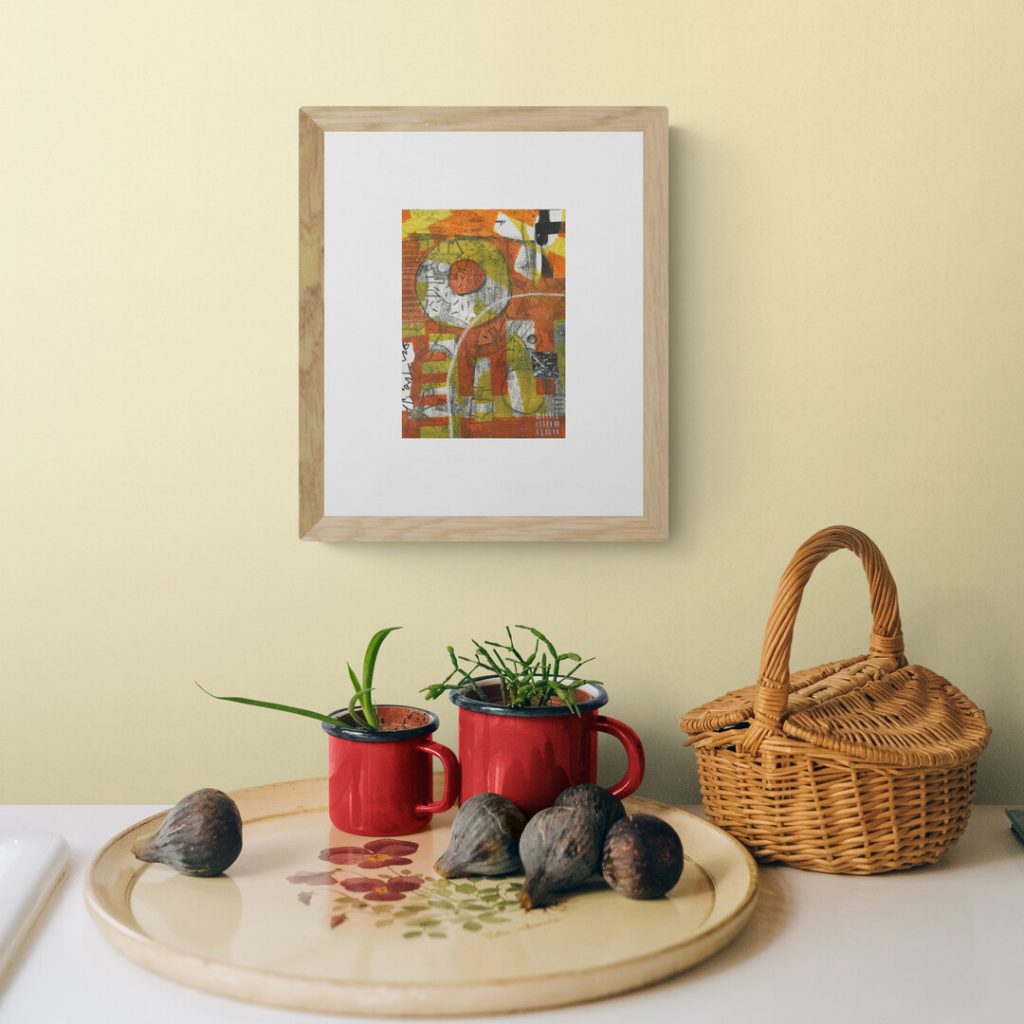
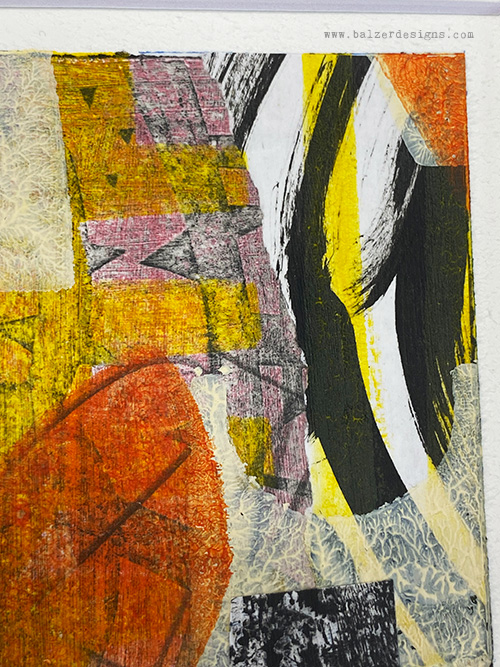
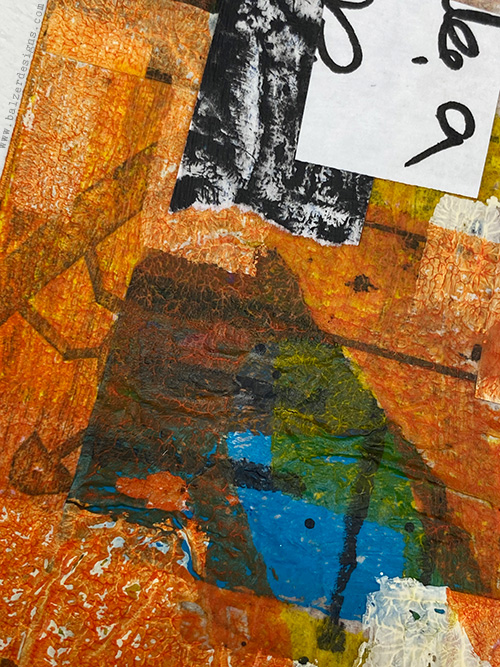
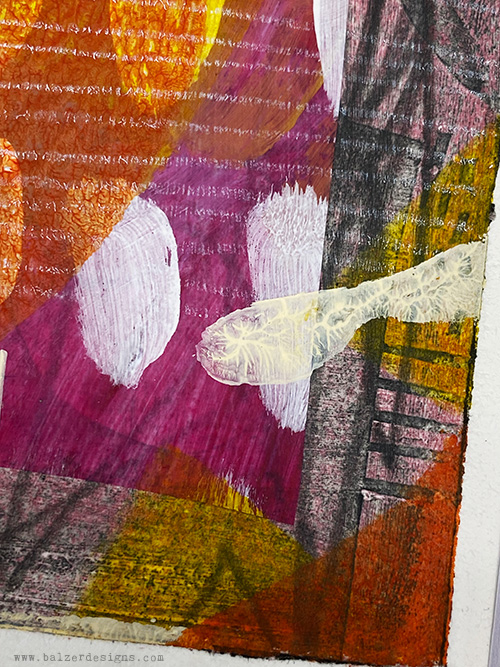
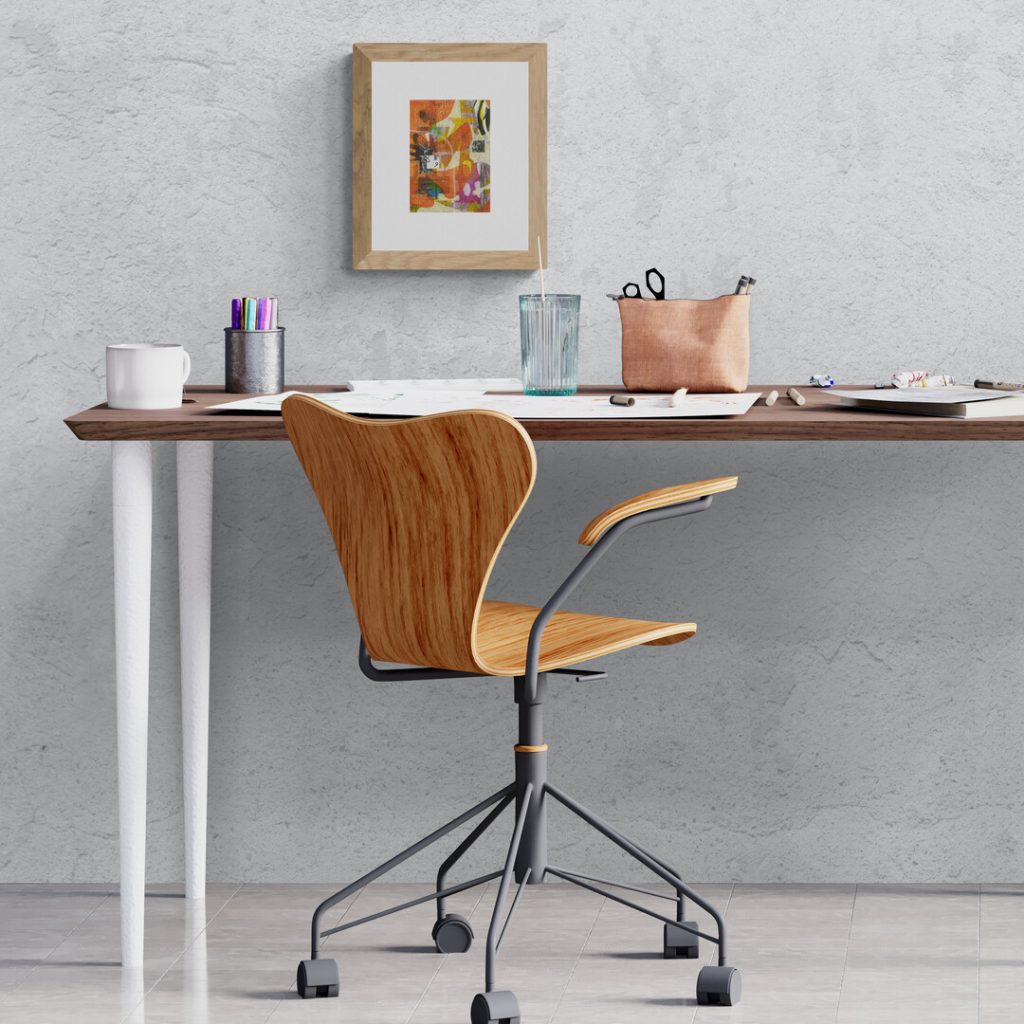
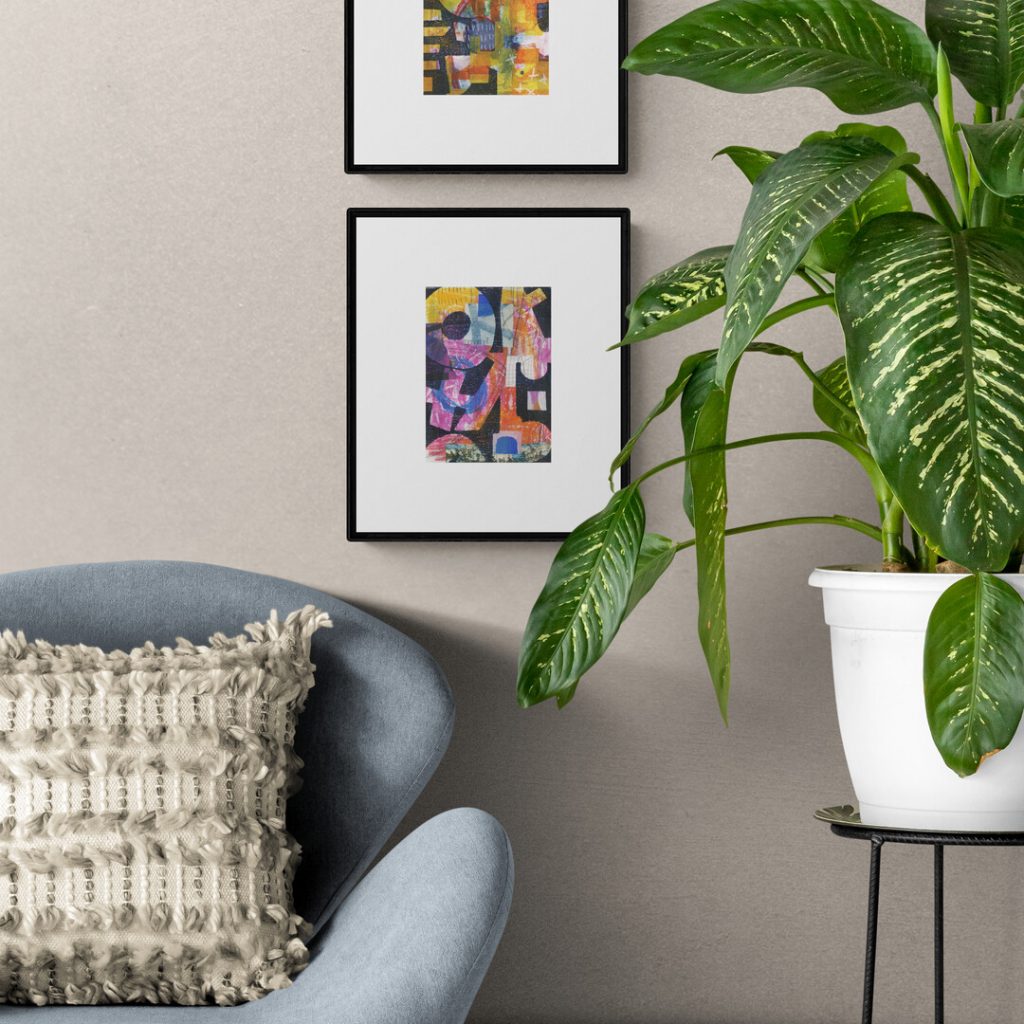
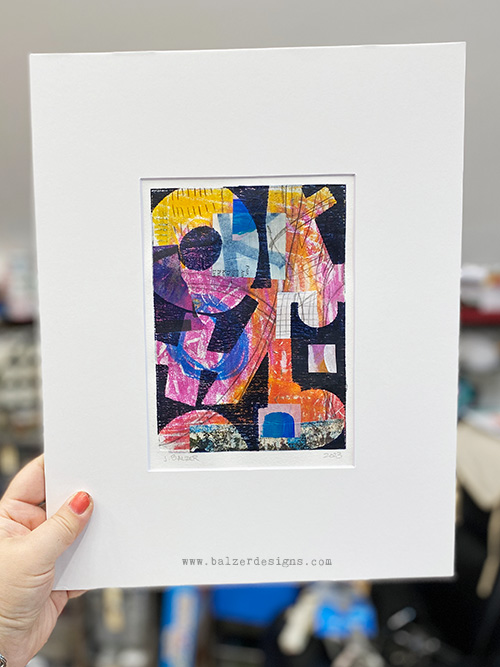
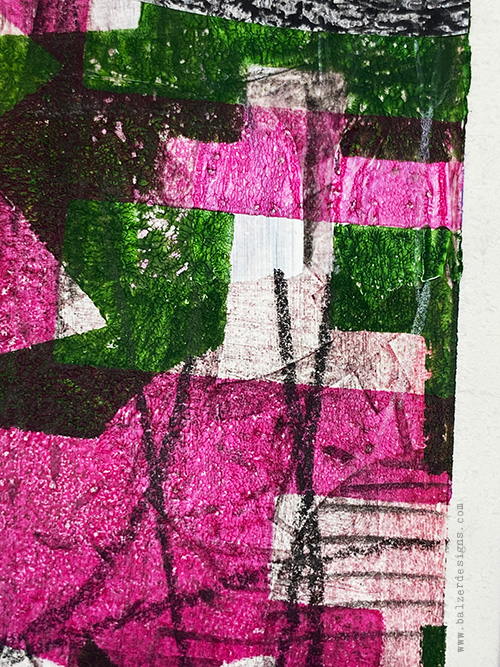
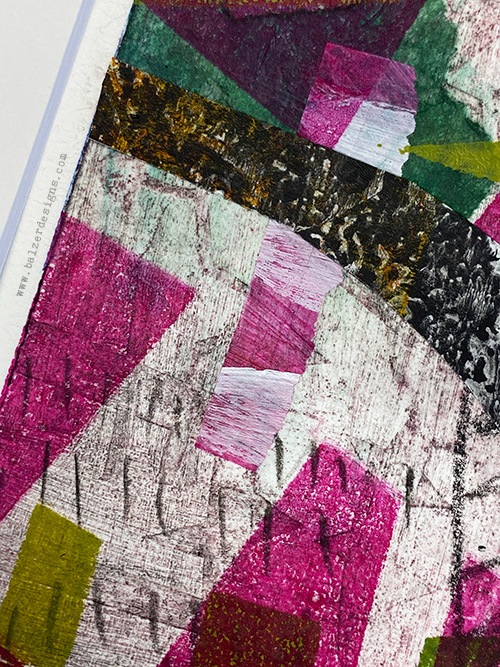
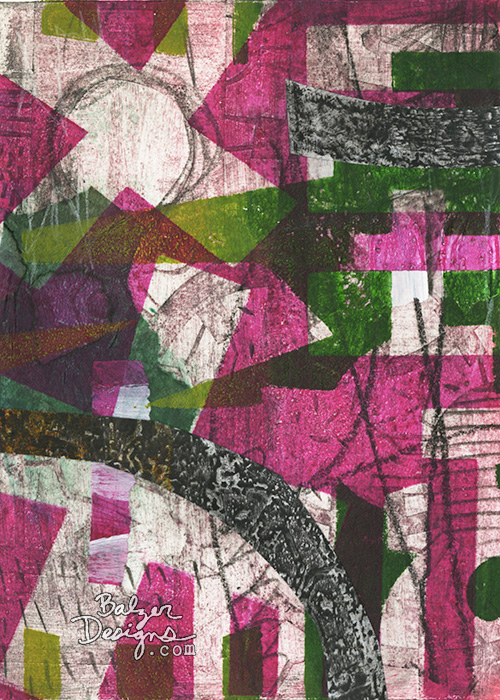
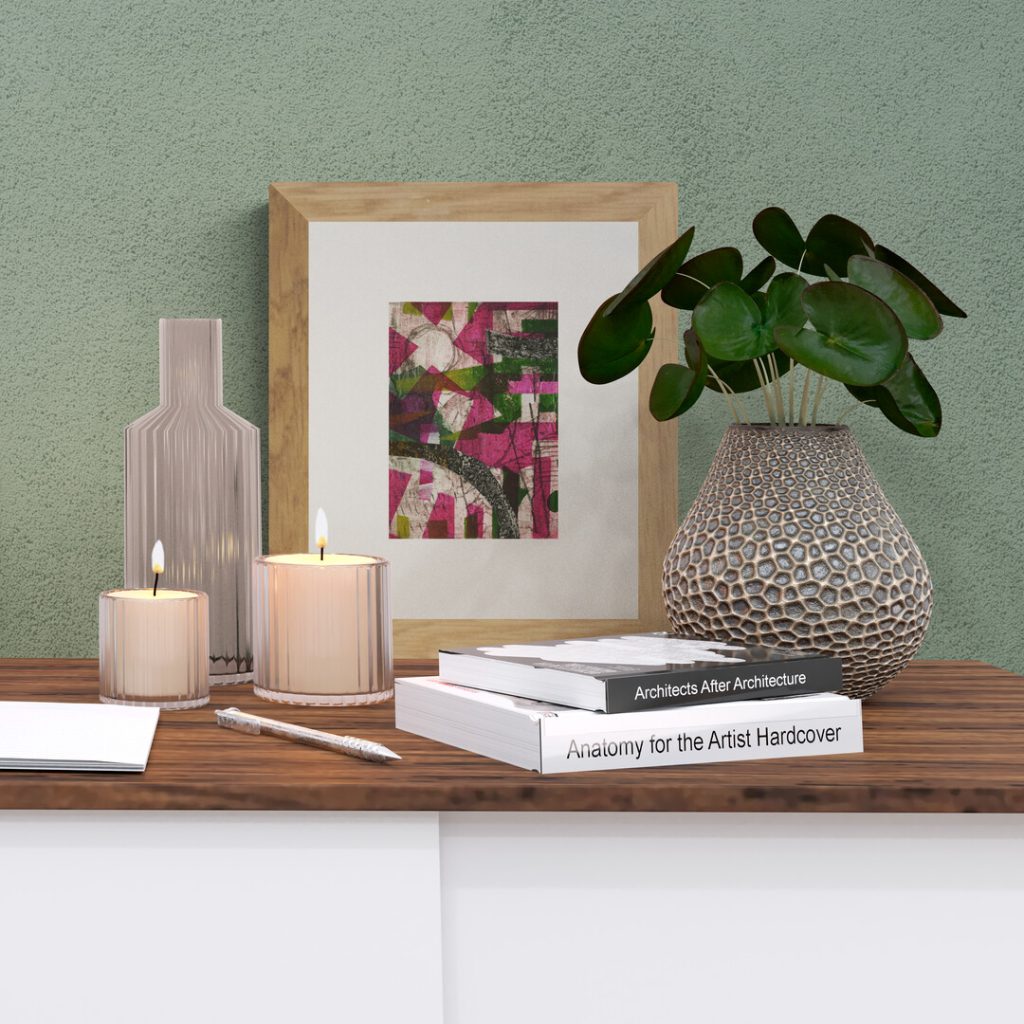
And here’s a peek at some of the finished pieces. You can find them in my online shop. They’re matted and ready to pop into a standard 11×14 frame. Free shipping in the USA. $10 everywhere else in the world.
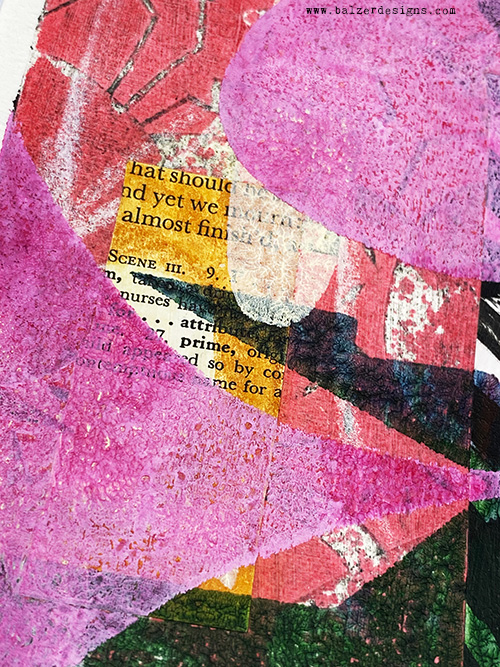
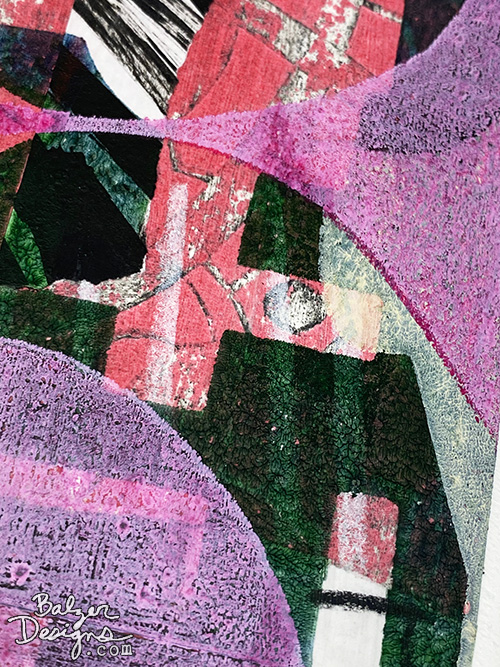
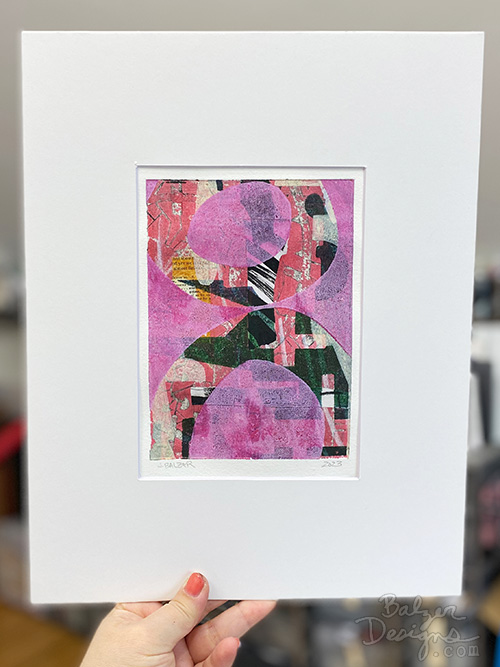
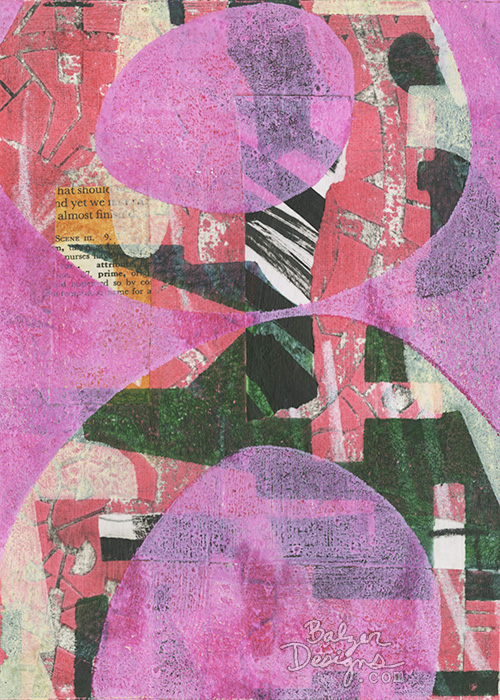
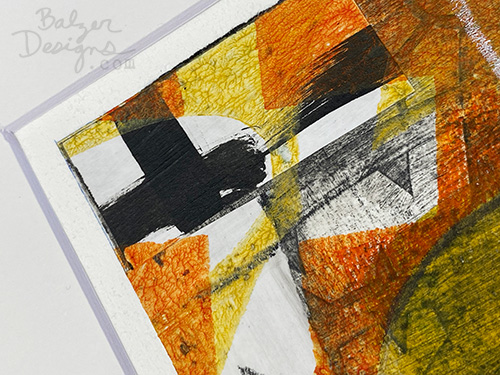
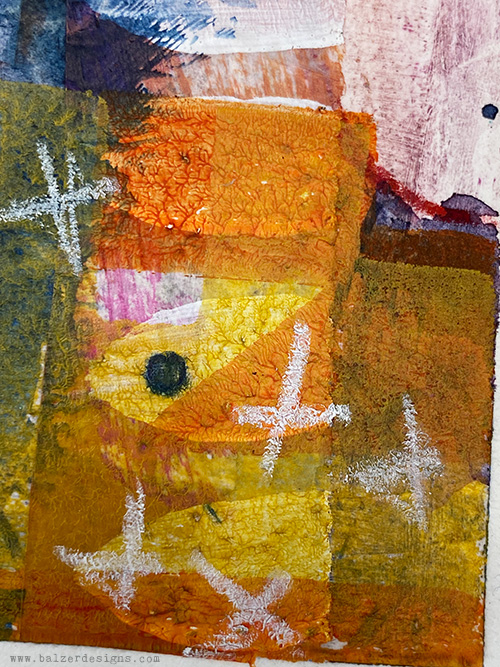
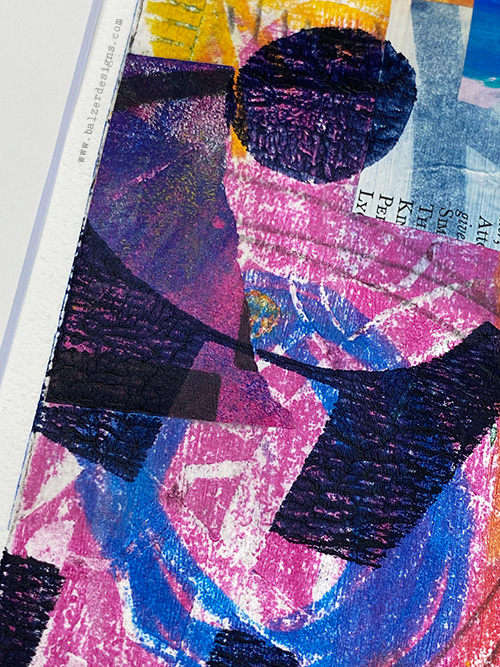
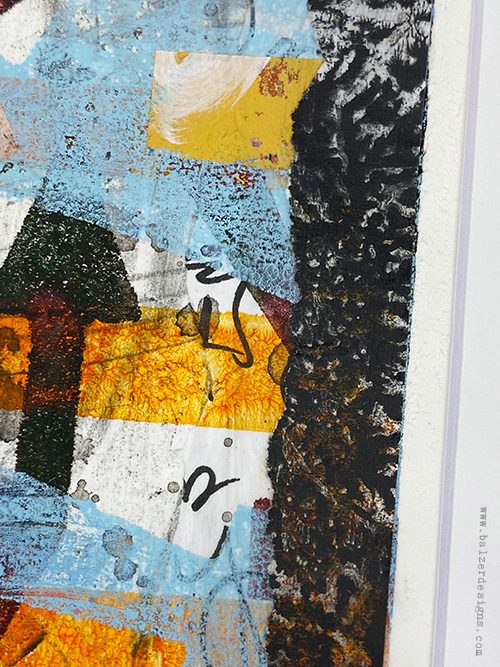
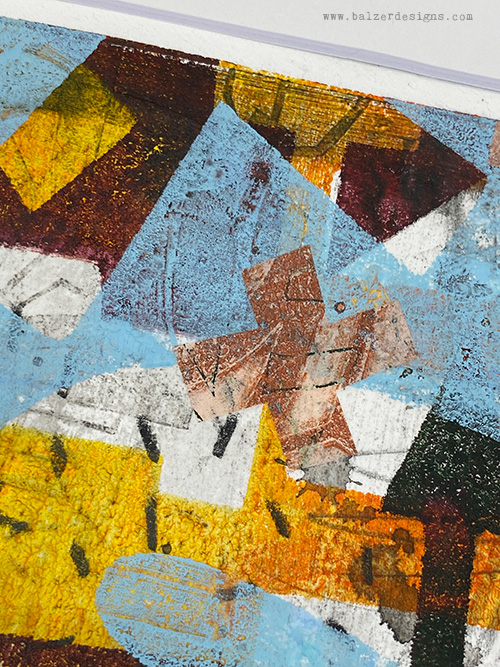
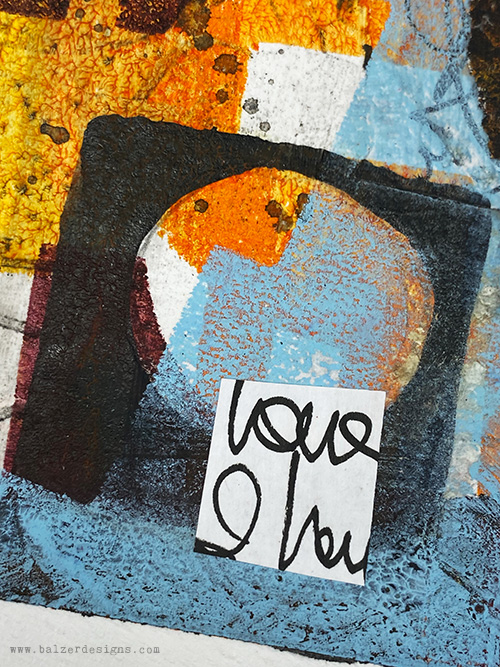
I love how the original collagraph peeks through the additional printing, painting, and collage layers.
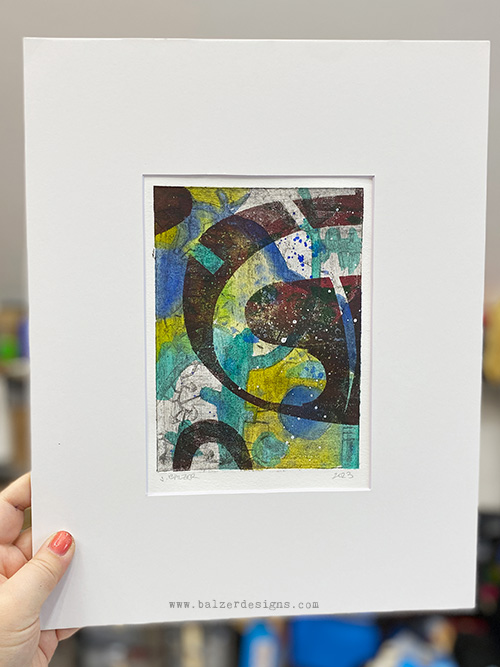
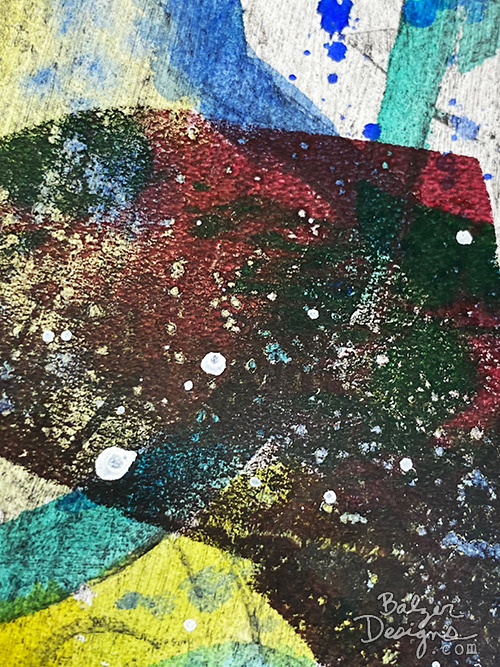
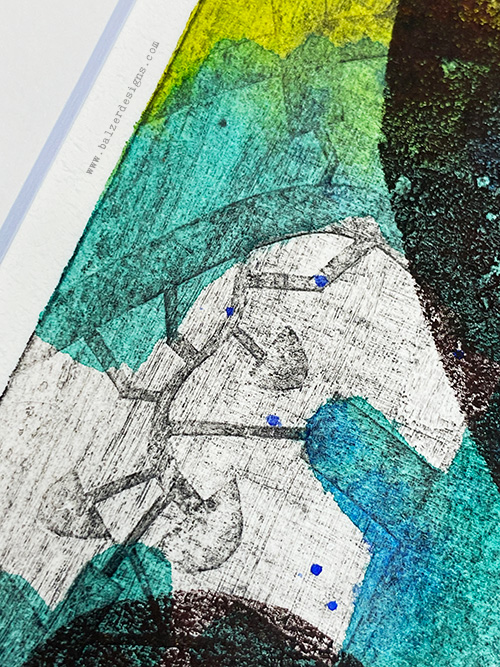
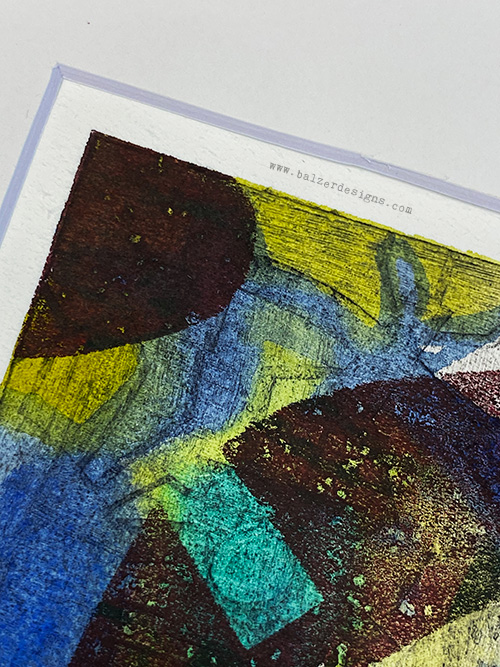
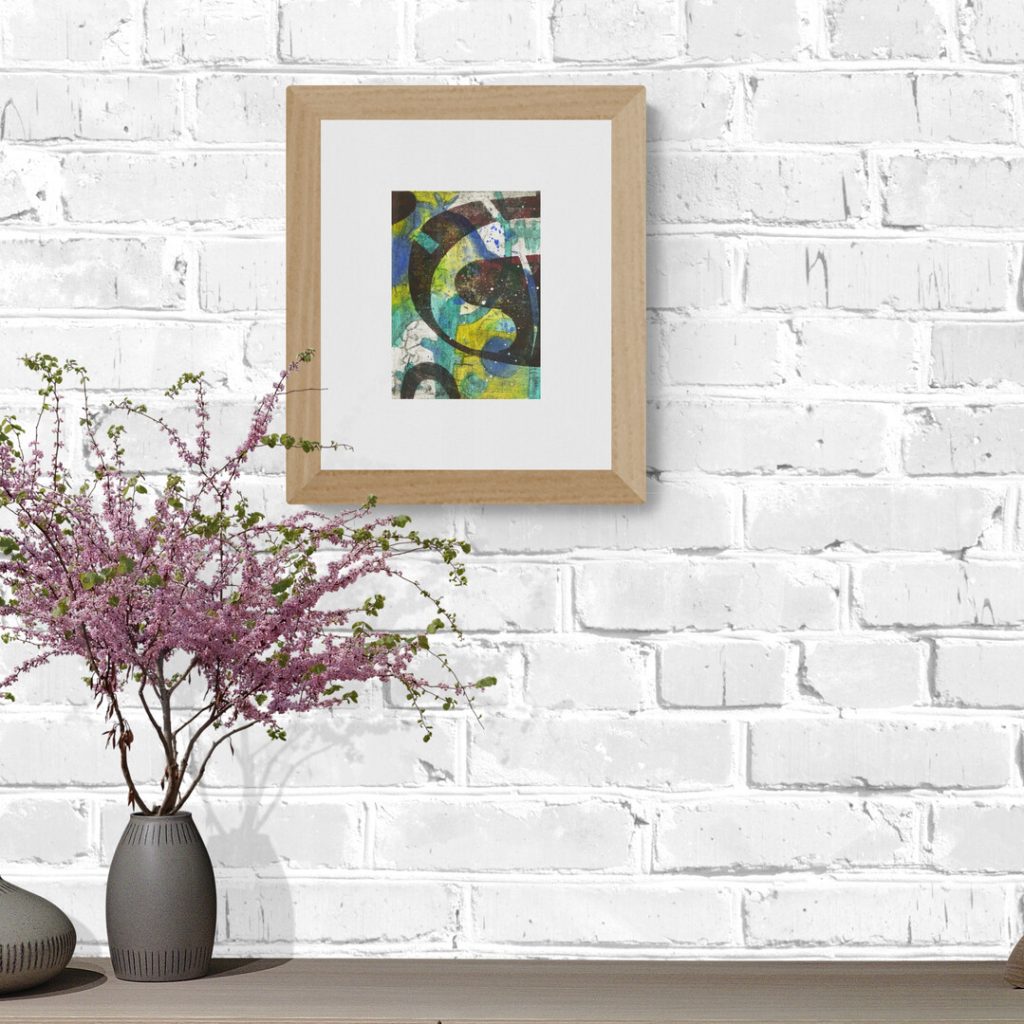
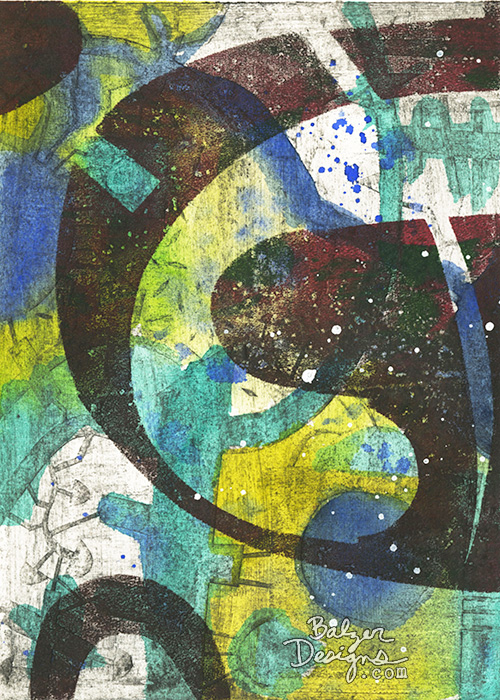
I had a lot of fun using color to highlight certain areas of the original print.
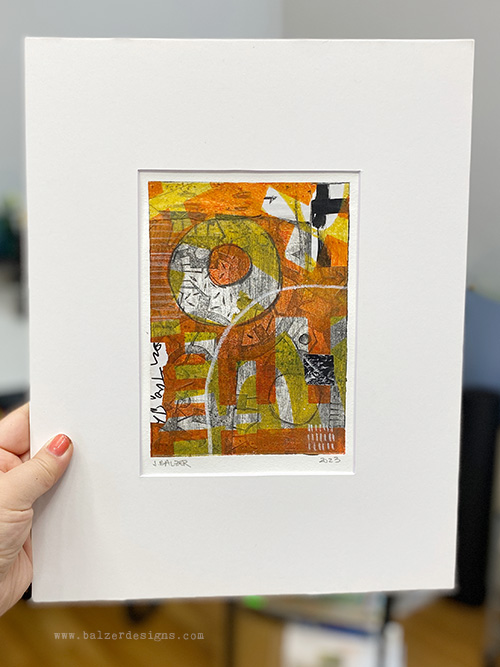
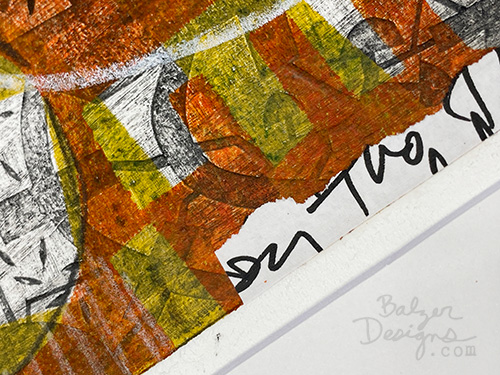
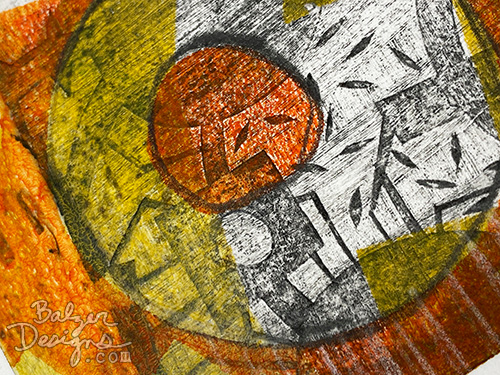
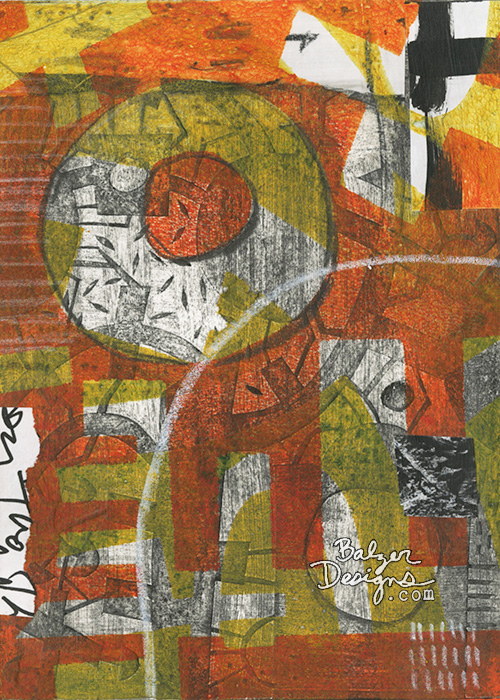
You can see that this one is very similar in coloration to the one above. I’m loving the warm palette!
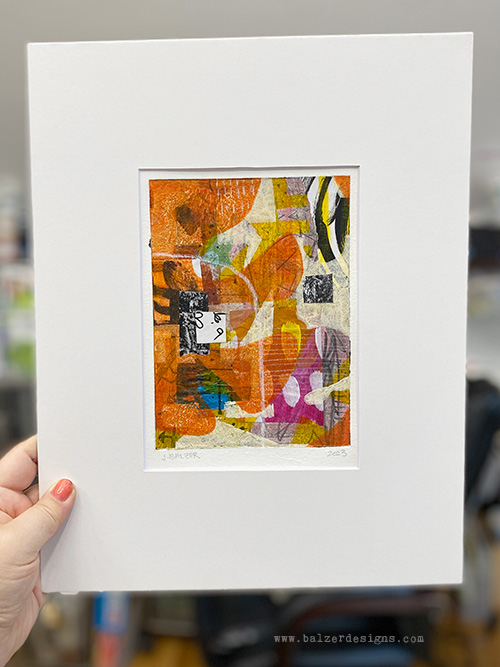
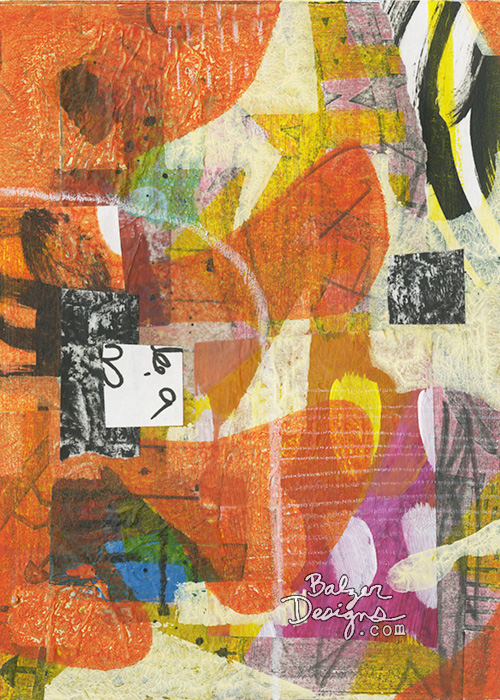
I’ve spent a lot of time this last year working on value (light and dark) and I can really see it in these pieces.
This one is personal favorite:
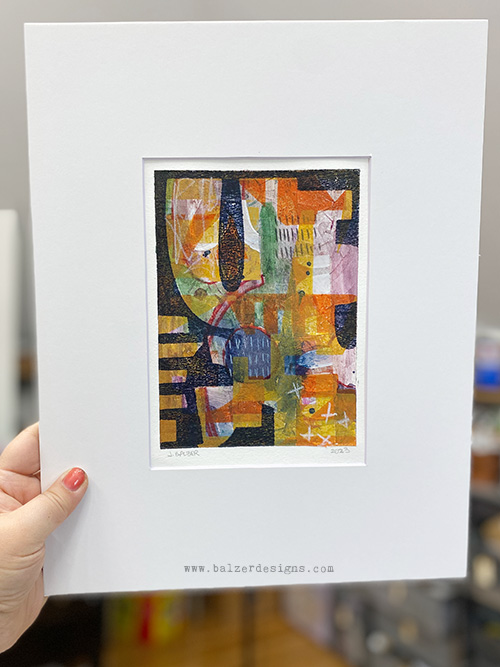
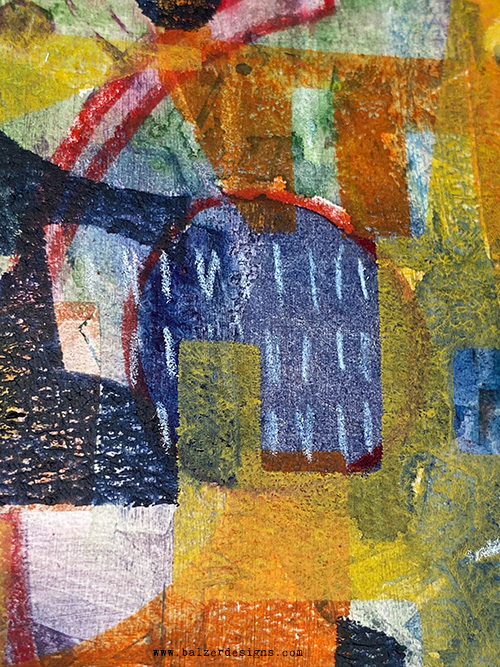
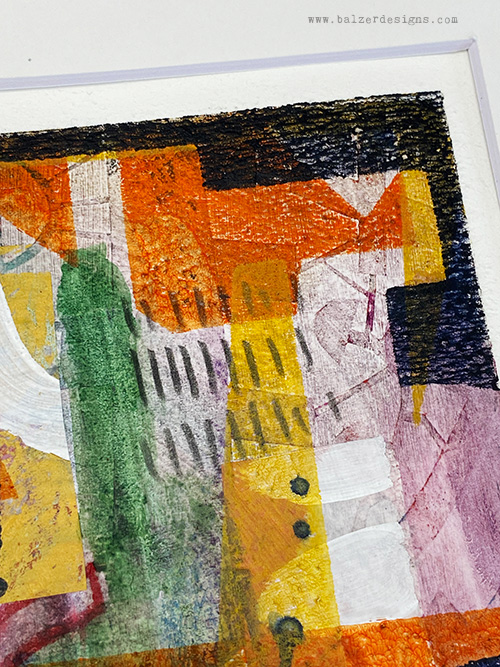
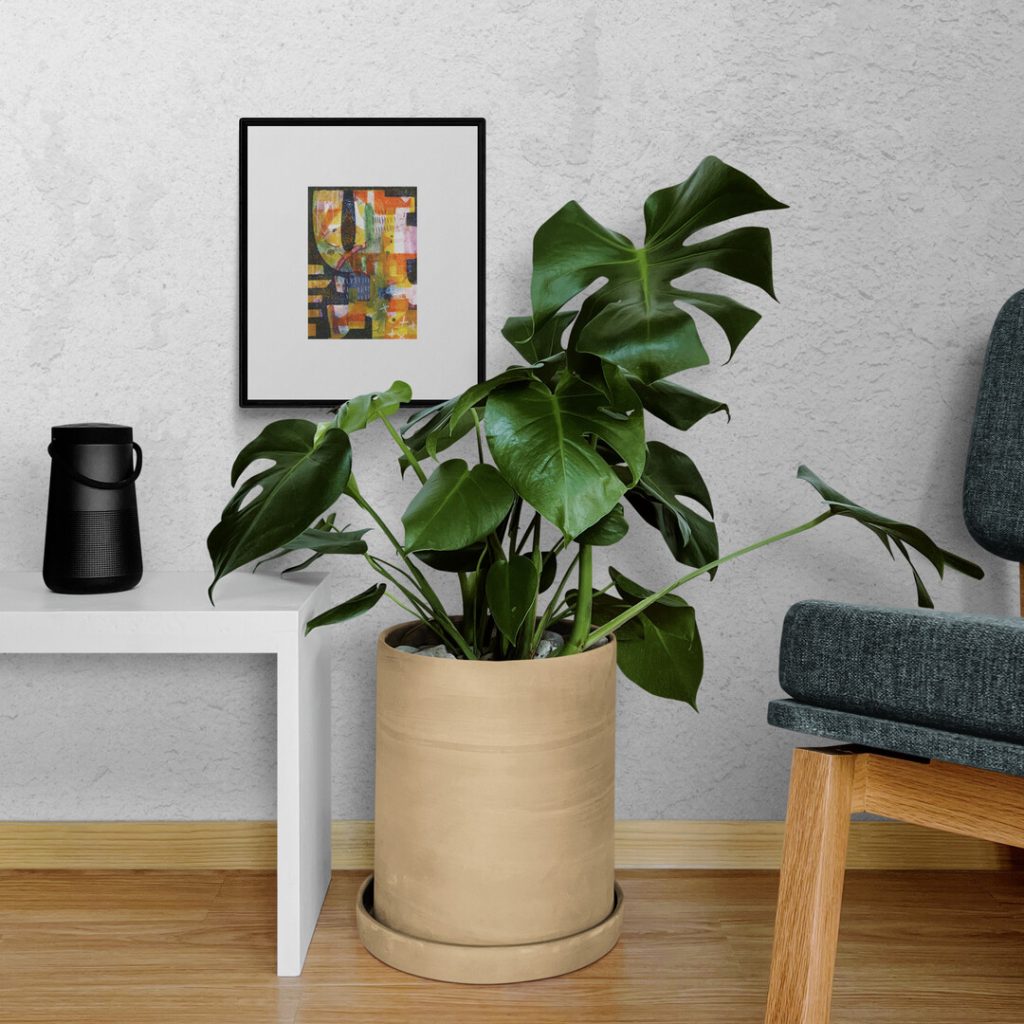
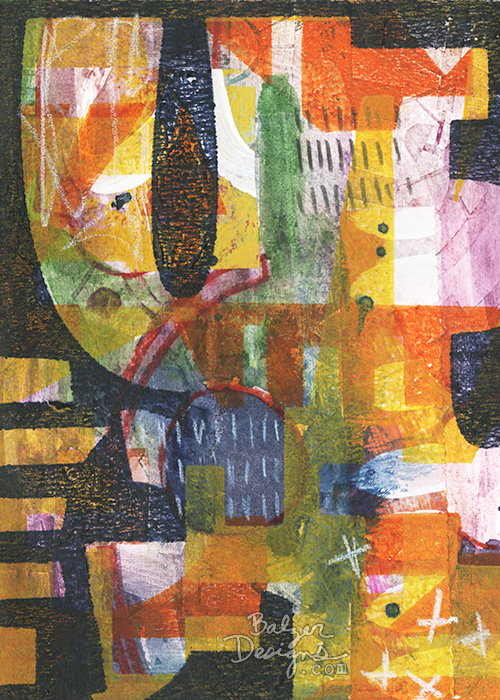
It’s just so crisp and high contrast. I love it!
This one has that same crispness:
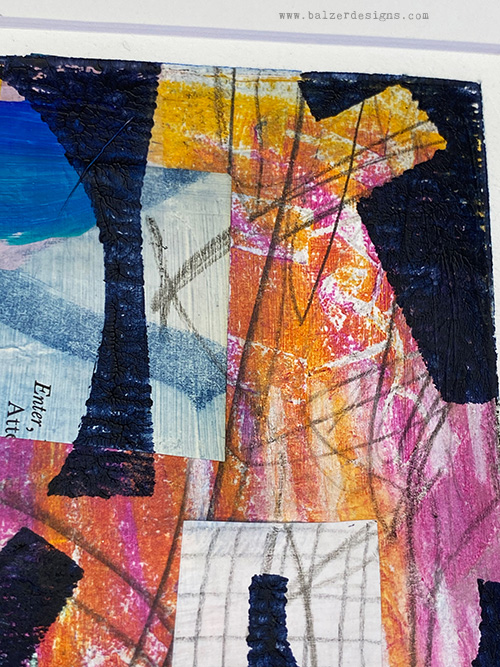
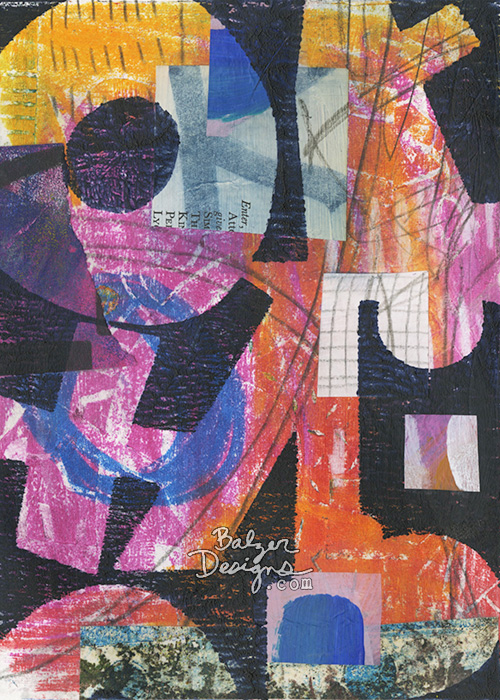
This one has so many yummy details and I love that yellow/orange and blue combo:
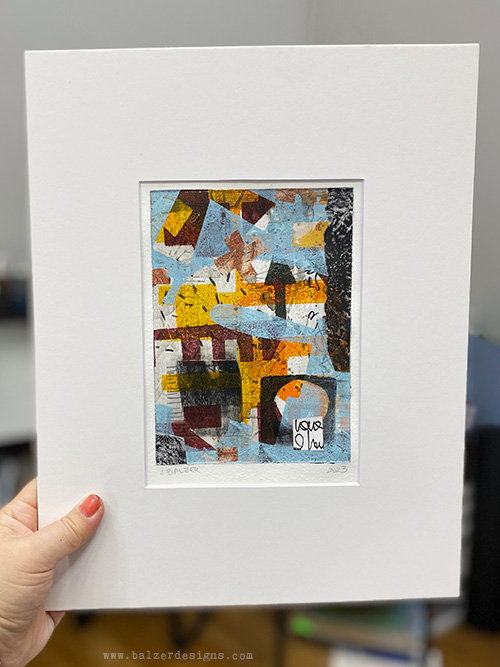
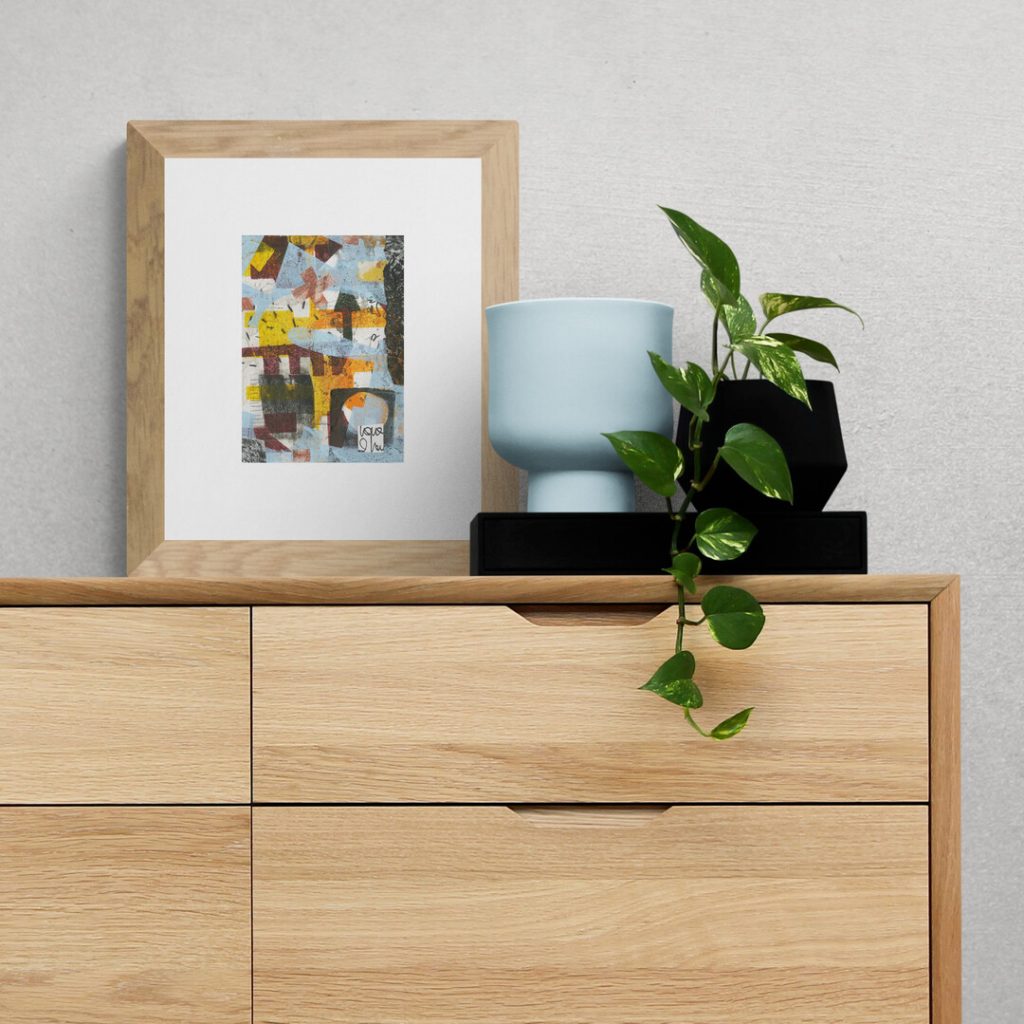
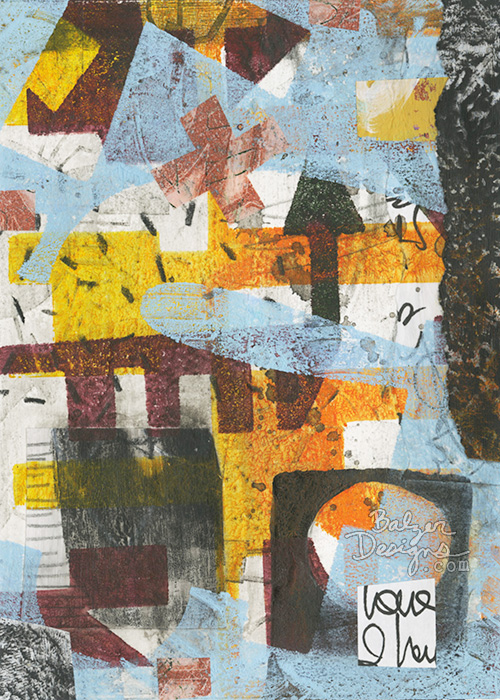
And last but not least, this beautiful piece:
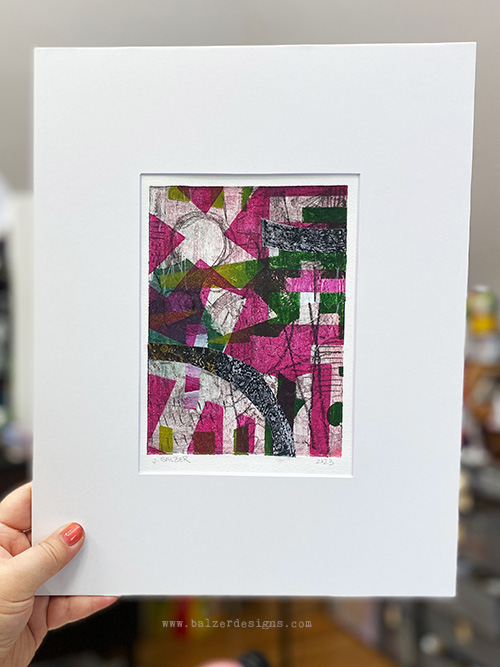
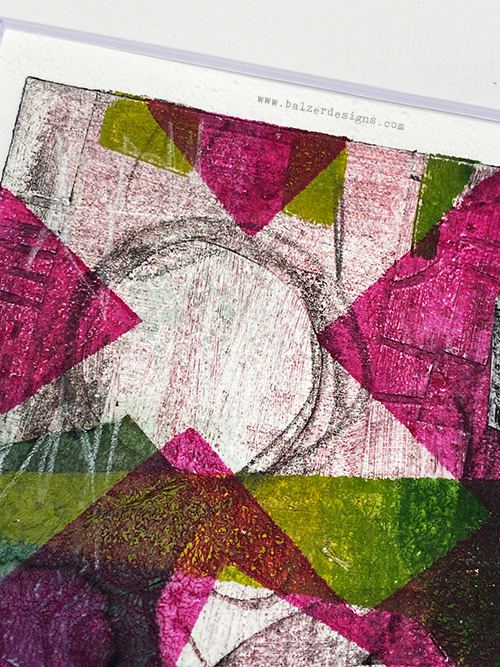
Final Thought
I’ve been doing a lot of this “printmaking-plus-more” artwork lately and I think it might be a sweet spot for me. It allows me to combine so many of the things I love doing into a single piece of artwork. And I suppose that’s why I’m a mixed media artist. I love to mix lots of different art materials and techniques together!
Thanks for stopping by!


Have never seen or heard of collagraphs before this – really interesting and fun. Love the texure.
And value, yes! I remember learning early on in quilting that color is wonderful and is often what initially draws someone in, but it’s value that does the heavy lifting when it comes to how effective the final product really is.
Exactly! Value does the work and color gets the credit!