
Every Friday on this blog we talk about art journaling and my belief that every artist should have a daily art journal practice — even if it’s just for 10 minutes a day. It has been transformative for me and I hope it will be for you too!

Today we have a guest post from Oksana Tepp on how to make a beautiful torn paper collage of trees. I hope you enjoy the tutorial and leave Oksana some love in the comments!
About Torn Paper Collage
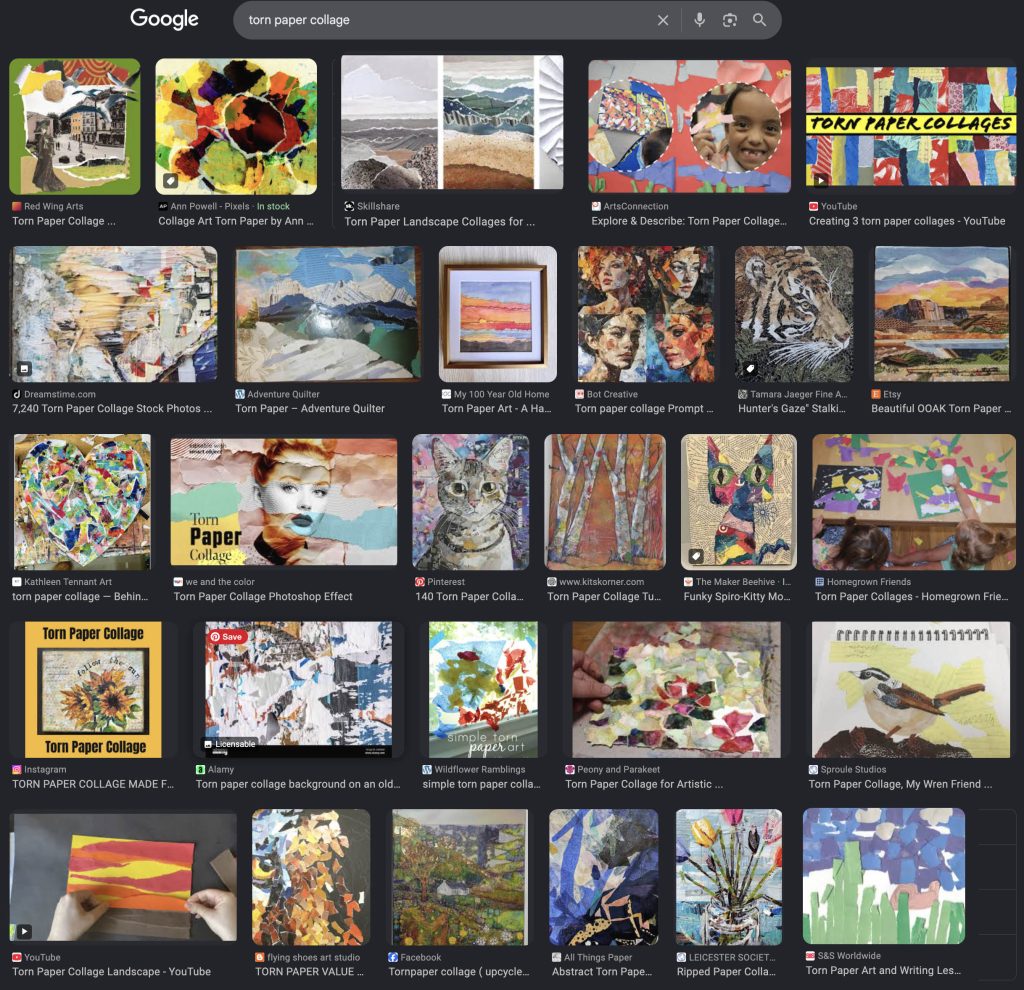
Torn paper collage technique is not a new invention. It is a well known method of using torn bits of variety of papers to fill in shapes, to add texture and color to backgrounds. Torn paper technique is popular in scrapbooking, card making craft, and fine art work. A quick search on Google reveals hundreds of torn paper collages:
I’m Going to Show You How to Make Mixed-Media Collage Torn Paper Trees
Today I will share the process of making a painted mixed-media collage for the art journal page using torn telephone book pages for creating whimsical trees, which may look quite realistic on the painted landscape background.
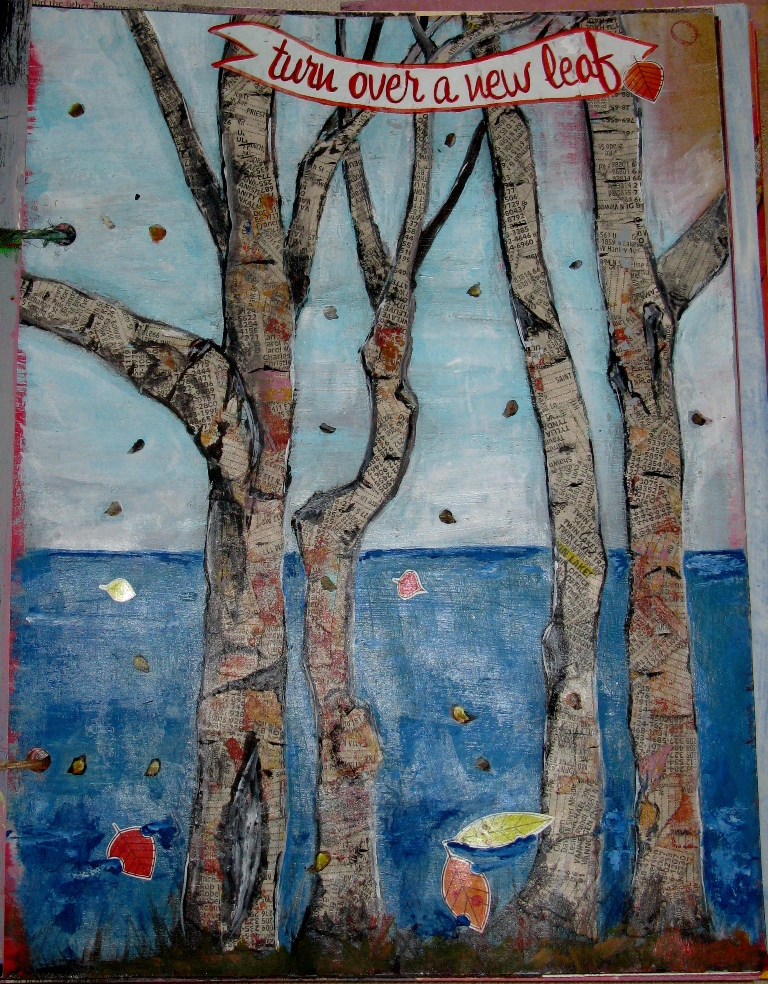
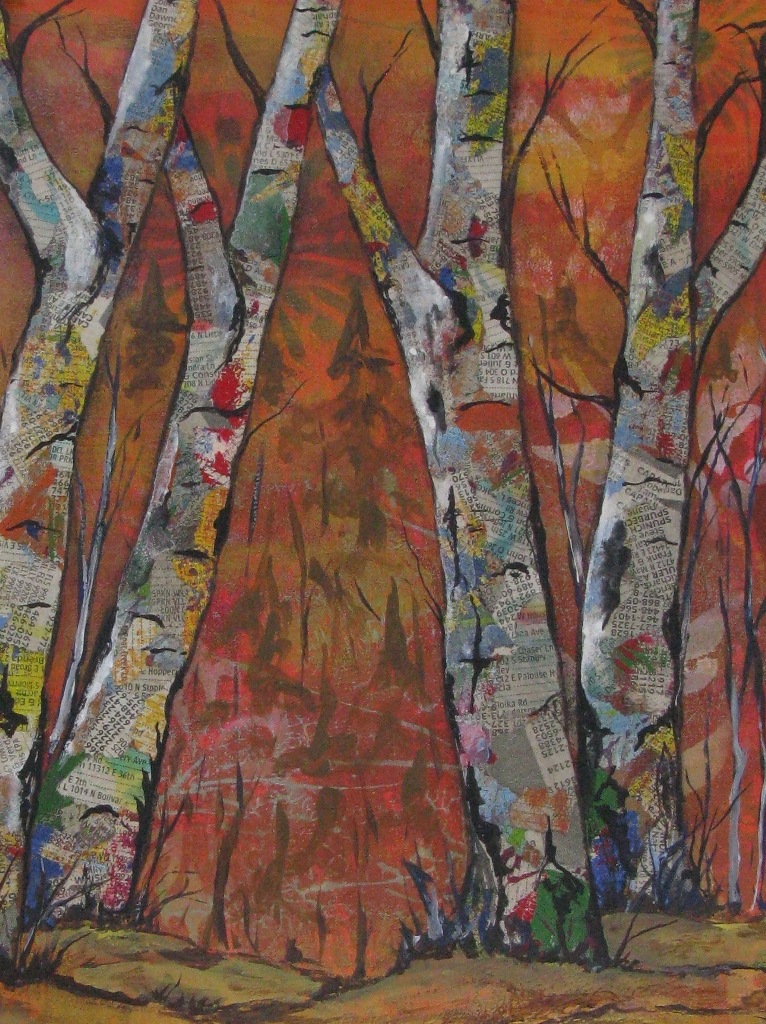
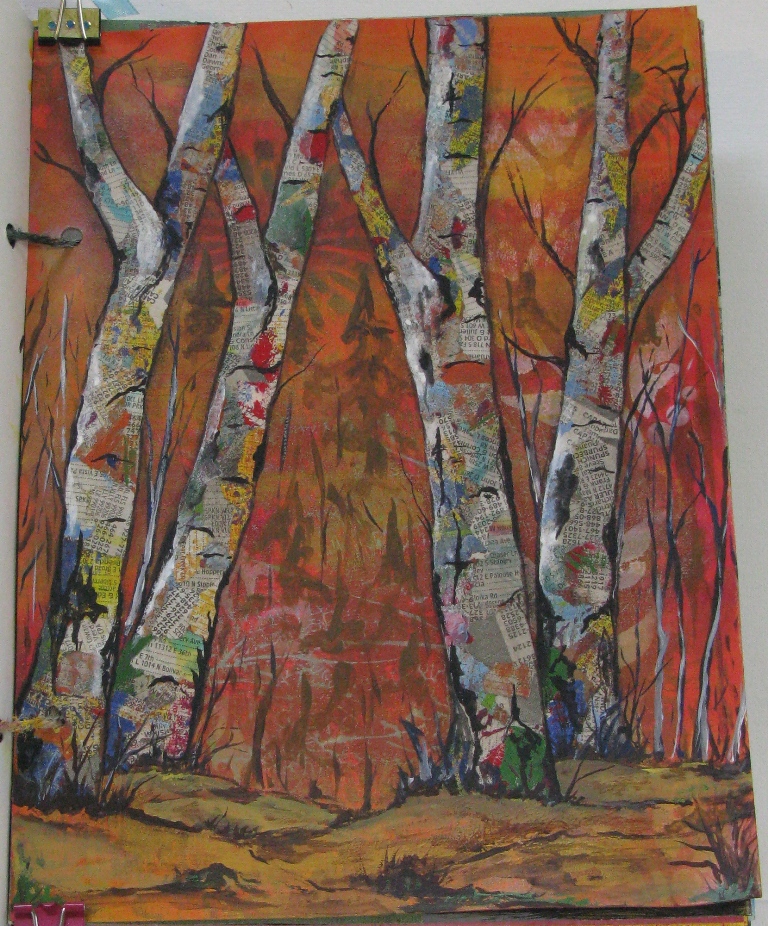
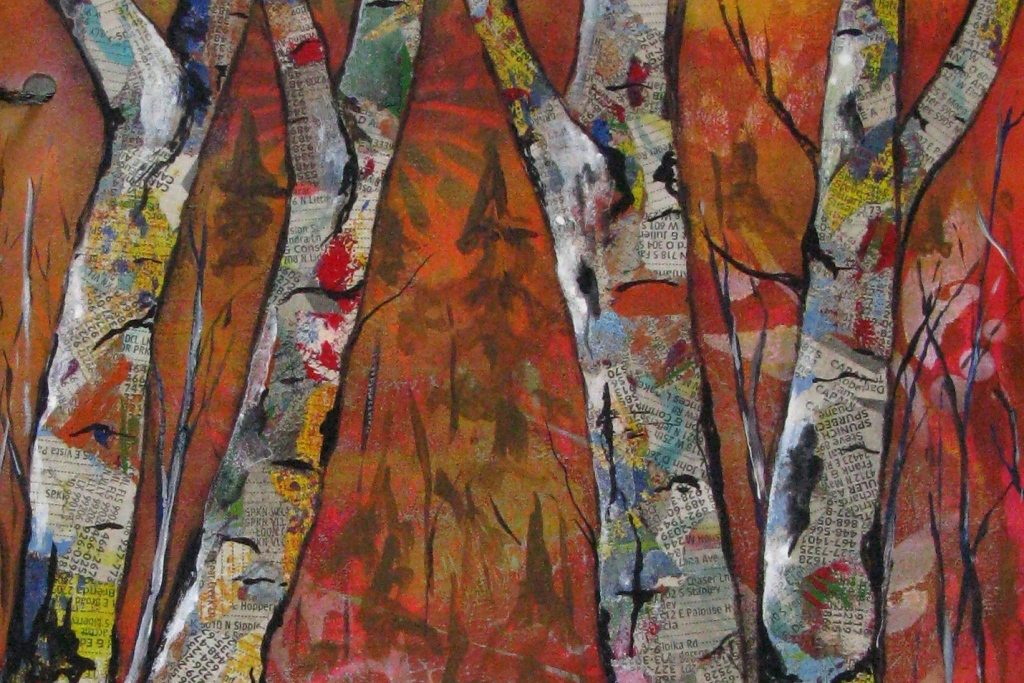
First time I made an art journal page with torn telephone book pages simply as an experiment. I used those papers in my previous art project as a protective cover for my working surface and had different acrylic paints, alcohol inks, and UTEE random marks all over the pages. All acrylic colors are from the balanced color palette I used for one of my paintings. I just didn’t want to discard those papers. Small font, tight rows of printed words, and grayish color of the paper made me think about aspen and birch tree bark. I did not care about non-archival quality of the telephone book pages. My art journal is a junk journal, where I have magazine clippings, newspaper prints, junk mail, old book pages, music sheets, greeting cards, etc. This is the result of my first experimental collage. I did not document the process step-by-step. Background is painted with acrylics on solid dark red cardstock.
Now, after learning some tricks for this method, I will describe in details how to create a painterly looking mixed-media collage for your art journal page.
There are 3 Main Steps (and One Optional Step)
There are 3 main steps for this type of painted collage:
- Step 1. Create your background.
- Step 2. Sketch the layout of the tree/trees and collage the tree shapes, applying torn telephone book pages.
- Step 3. Add details, finishing touches.
- Step 4 (optional). Cover your finished collage with the sealer, add journaling.
Every step of this process can be done in a variety of ways. I will give you demonstration first showing my next art journal page “Vivid Sunshine.”
Supplies
These are the materials I used:
- Red cardstock for the base/page itself (pages in my art journal are about 8in x 10.5in).
- Variety of stamps and stencils for the background.
- Acrylic paints of your choice. For this project Soft Body Liquitex acrylics were used.
- Charcoal for sketching.
- Large and small paint brushes, sponges (for stenciling).
- Painted and clean telephone book pages.
- Liquitex Matte Medium as an adhesive and a sealer.
- Krylon Matte Finish spray as a final sealer.
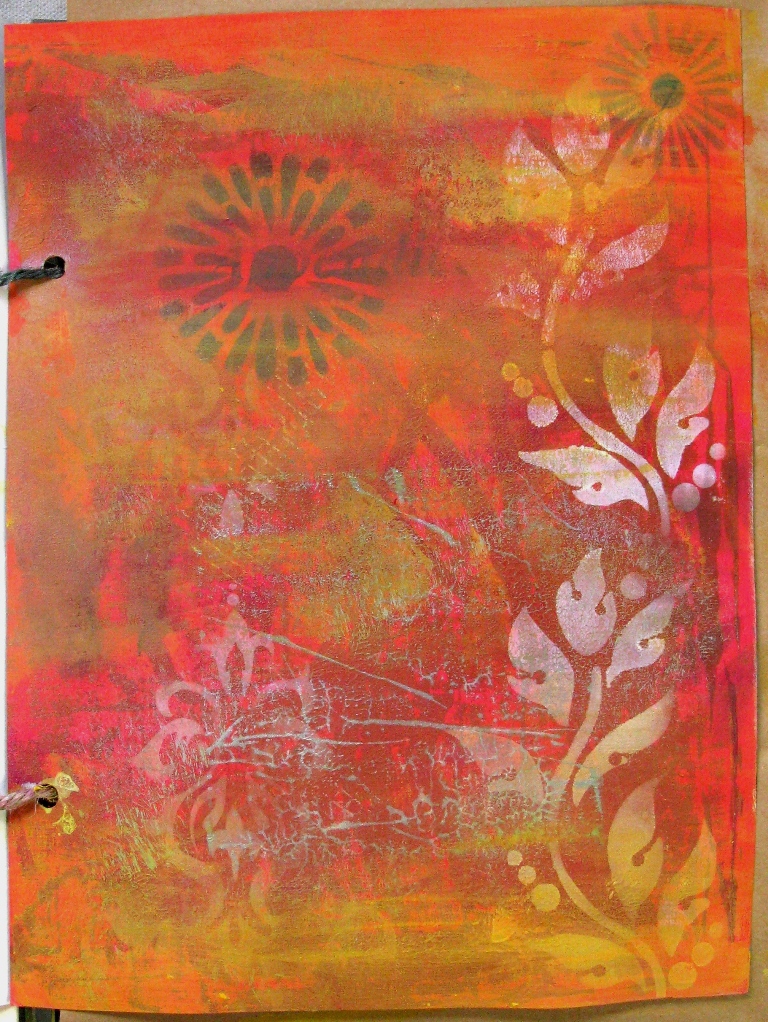
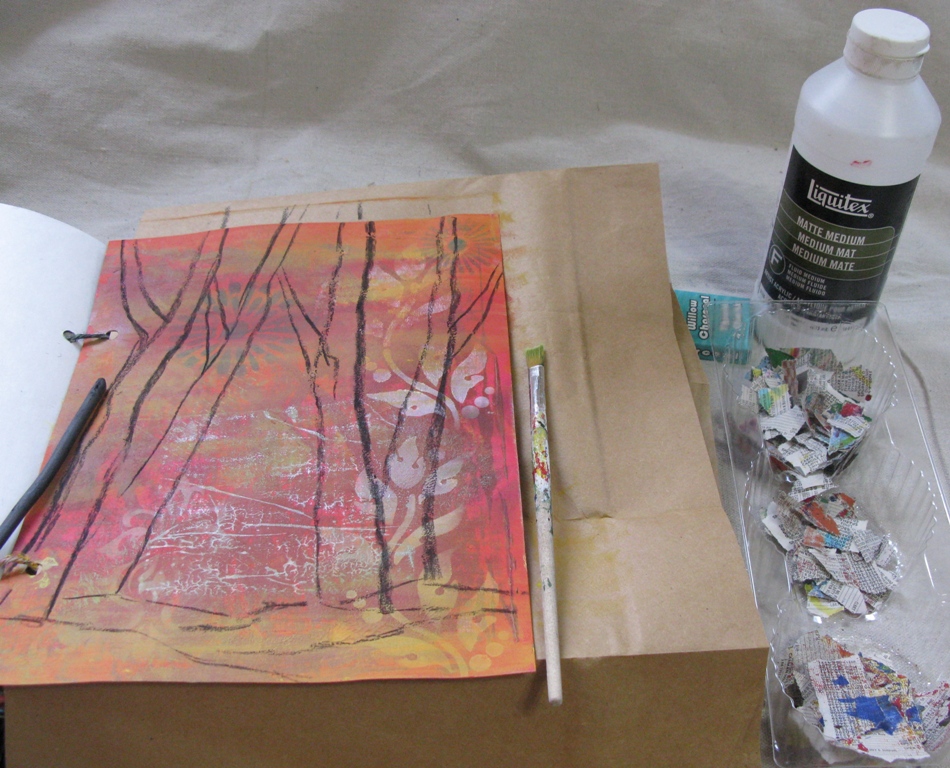
Step 1: Background
Random stamps and stencils with acrylic paint are used to add design to the solid red cardstock.
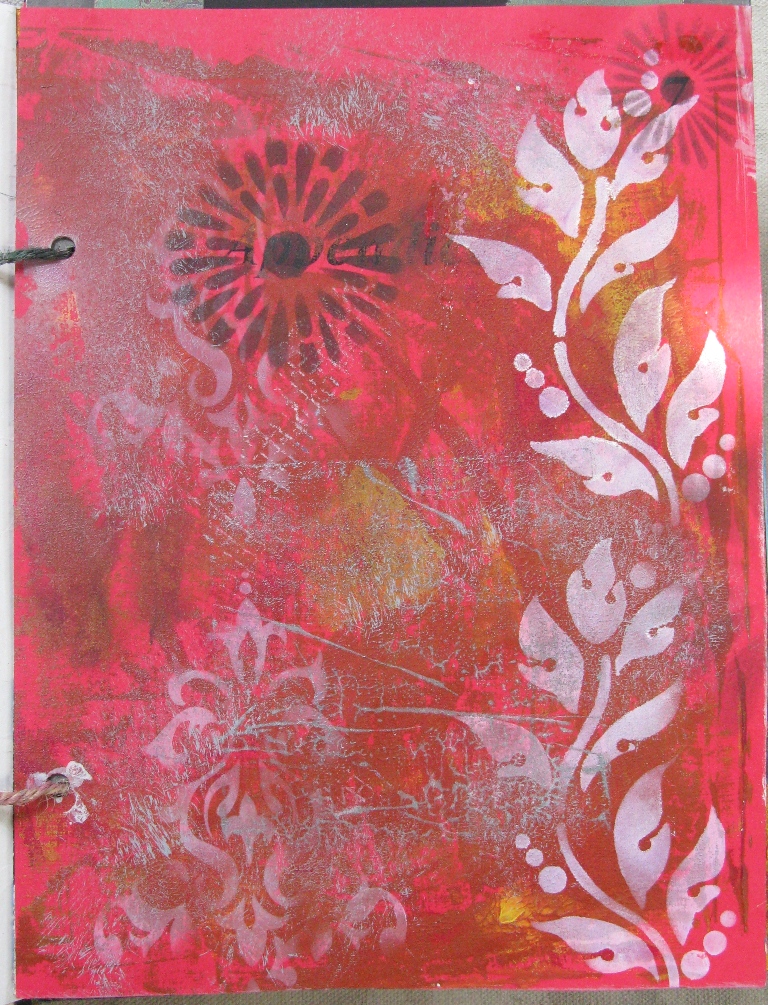
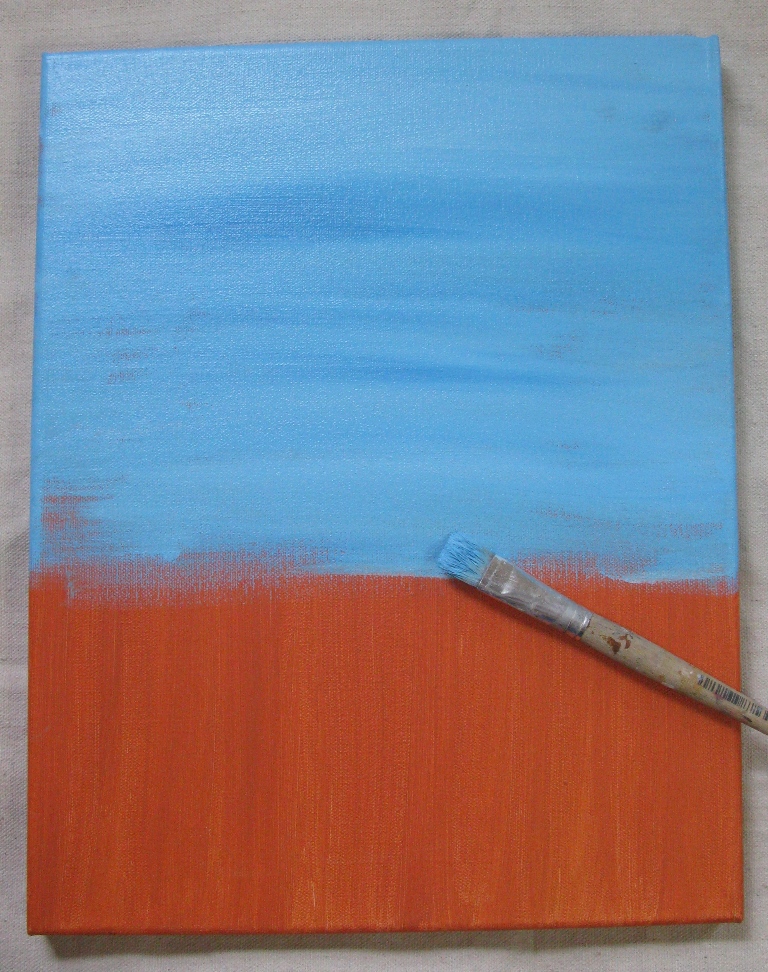
Bright yellow acrylic paint with the larger brush is applied to the top and bottom of the page to define the sky and foreground for the future landscape. Such bright colors of the background create a perfect backdrop for the grayish tree trunks.
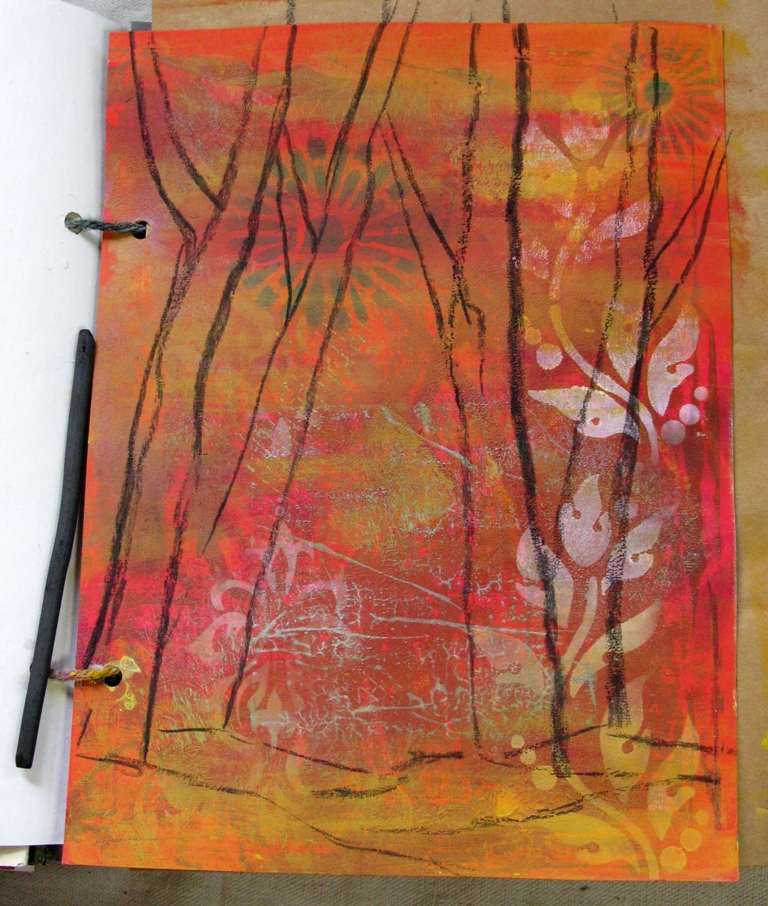
Step 2: The Trees
Using pencil, marker, crayon, or charcoal (I used charcoal) sketch roughly the shapes of the trees.
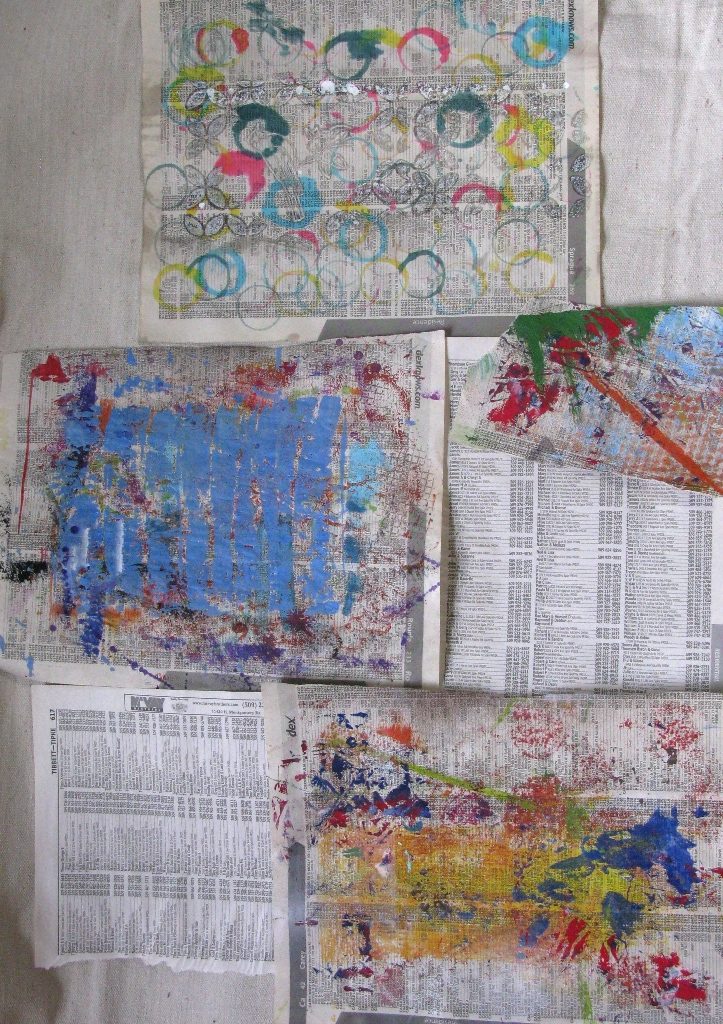
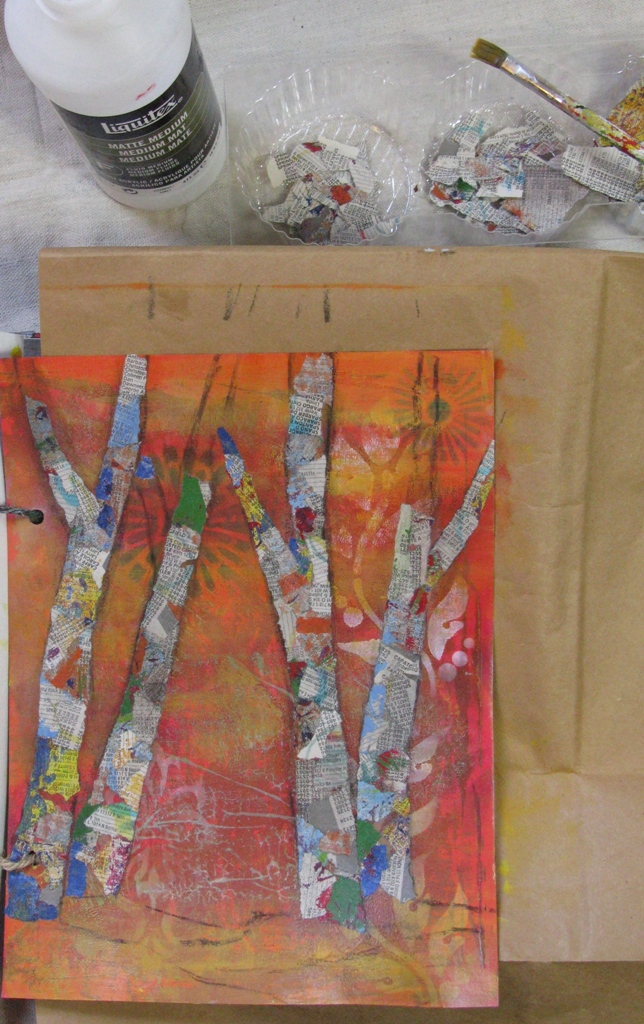
Choose your telephone book pages. Some may be used, unaltered, some painted.
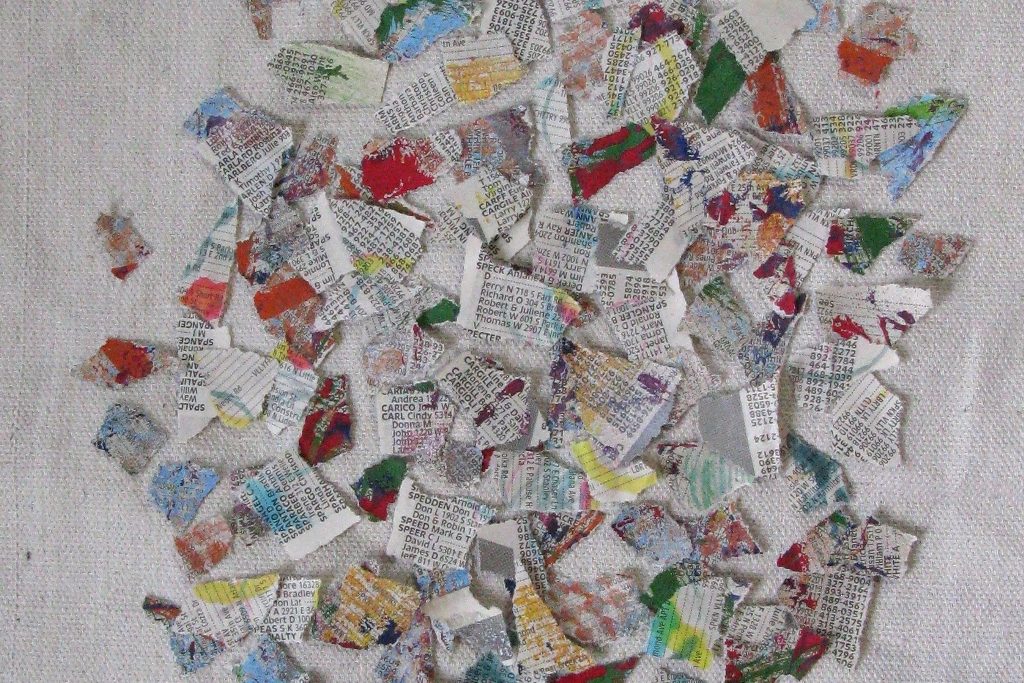
Start tearing your collage paper, making bigger and smaller pieces, depending on the width of the tree trunks and branches. Leave some pieces for later custom tearing for the tight and tiny spots or specific shapes of your tree branches.
Get ready for the fun part: collage itself. Collect all needed tools and materials for this step.
To fill in the shapes of the trees try to follow your sketch lines on both sides (left and right). It’s easier to create the contour of the tree, and fill in the middle part after. If you have painted your collage papers, try to use darker colored bits on the bottom and shaded areas of the trees.
I knew that charcoal will be smeared a little with the matte medium. This effect will work well for the desired look: distant foggy forest area in the background. If you would like to avoid that consequence do not use charcoal for sketching.
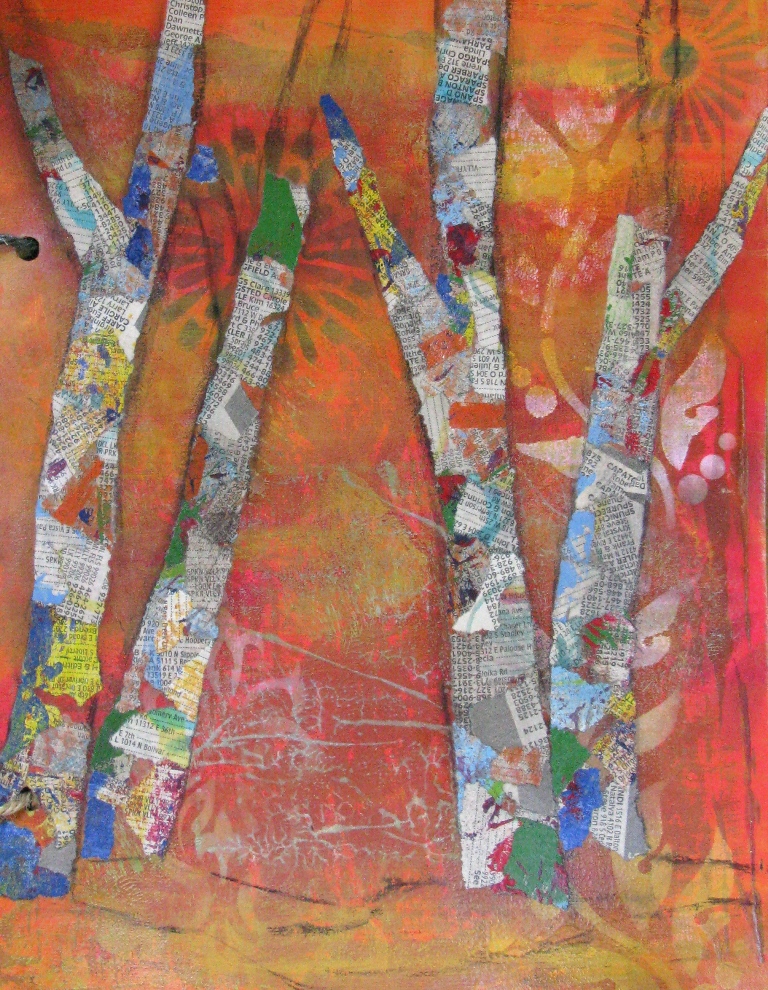
Continue filling in the shapes of the trees. You can make as many layers as you want until you satisfied with the collage. Let it dry. Matte Medium dries relatively fast, but the time will depend on the thickness of your collage (you can create a visible dimensional texture) and the conditions of your working space. I left my page to dry for 2 hours.
Step 3: Finishing Touches
After the collage is fully dried, the journal page lays flat again and is ready for the finishing touches. Smaller branches of the trees and distant trees are painted with burnt umber acrylic paint. Highlights are added with white paint (diluted for transparency).
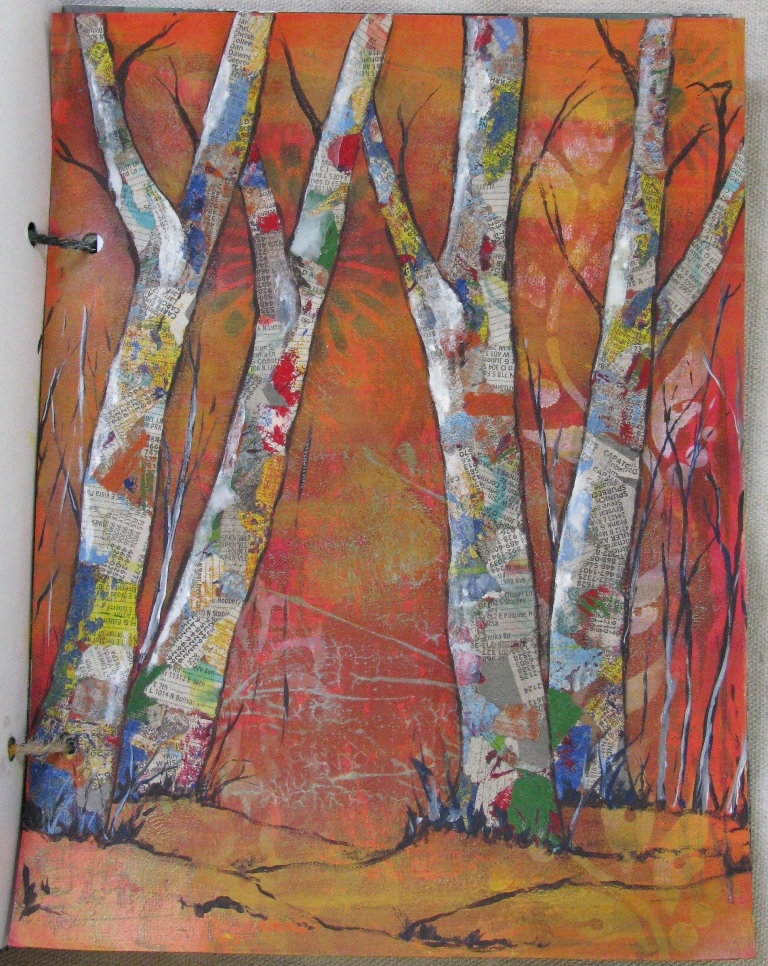
More distant trees, foreground bushes and grasses, and some small details to the tree trunks are added.
I decided to add protective matte finish and sprayed the finished page with Krylon Matte finish. It dried almost instantly.
Using This Technique On Canvas
I really enjoyed the process of creating this painted collage and decided to try using the same technique for bigger art work on different surfaces and with different mediums.
For the painting on canvas, “Long Day is Over,” I have chosen acrylics, so it was almost the same materials and steps used as described above for the art journal page. This time I made sure that collaged papers are well embedded in acrylic medium, which makes the finished painting archival. Here are the steps:
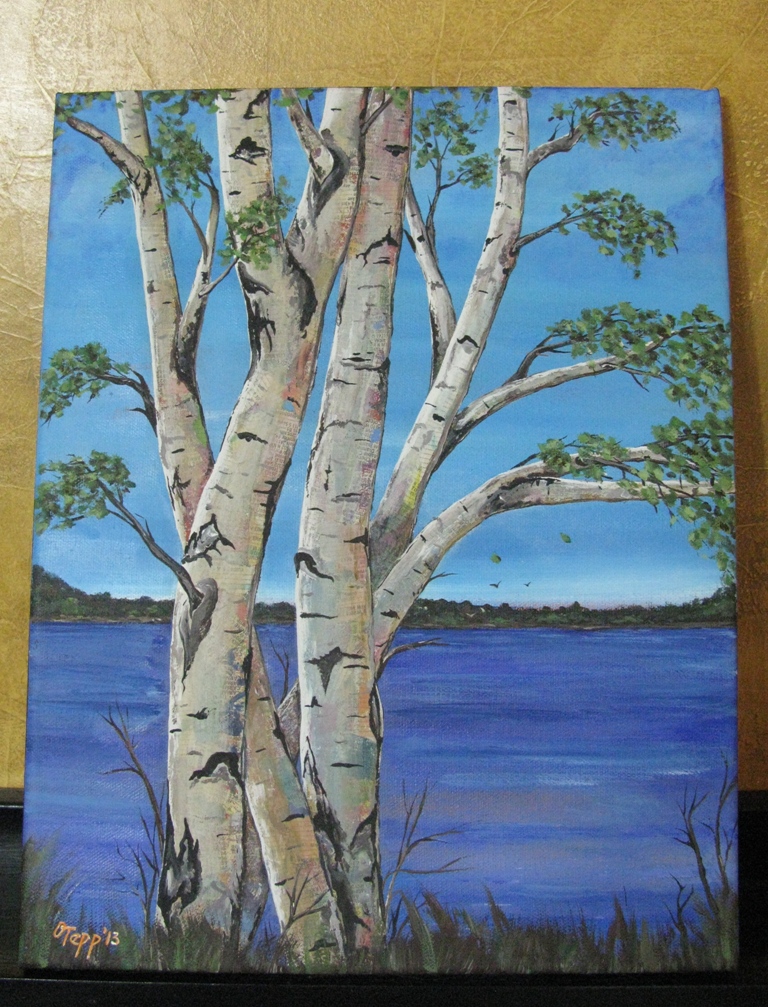
The finished mixed-media painting “Long Day is Over” is 11in x14 in on cotton stretched canvas and is available in my Etsy shop.
Using This Technique on a Watercolor Background
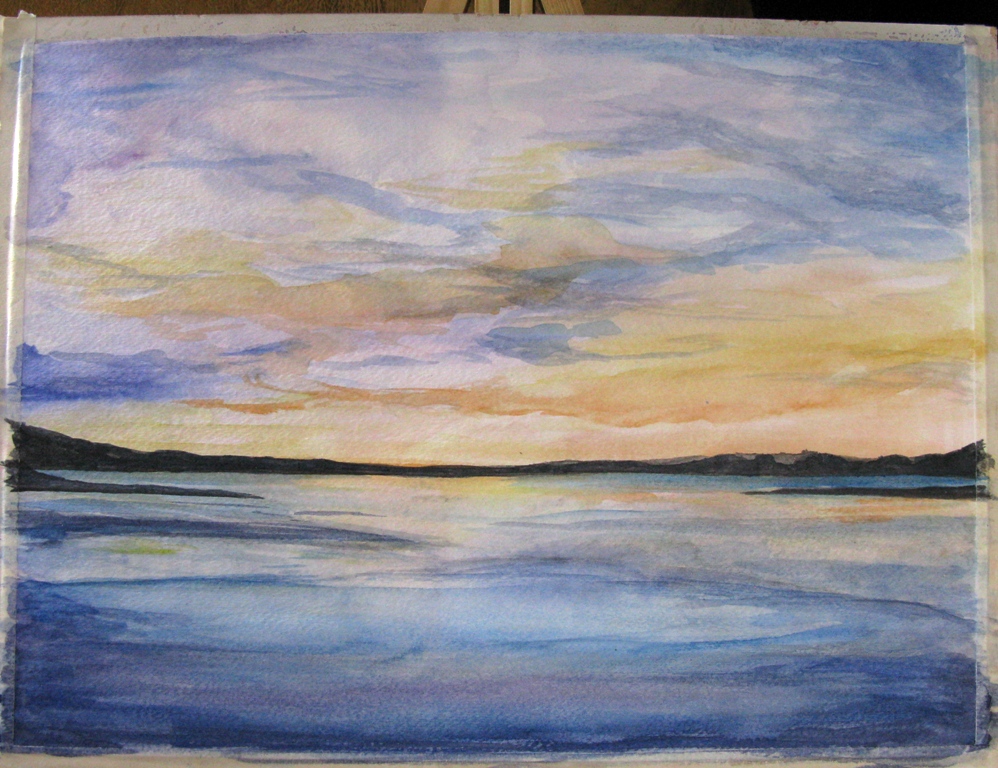
I would like to show how the torn paper collage technique works on a watercolor background.
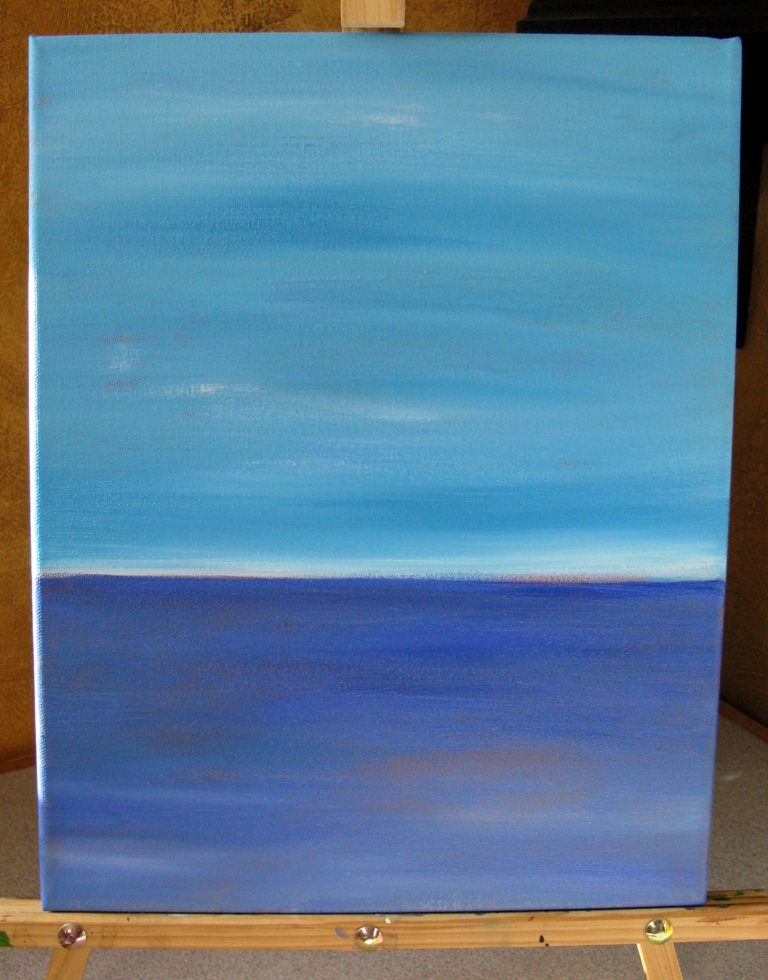
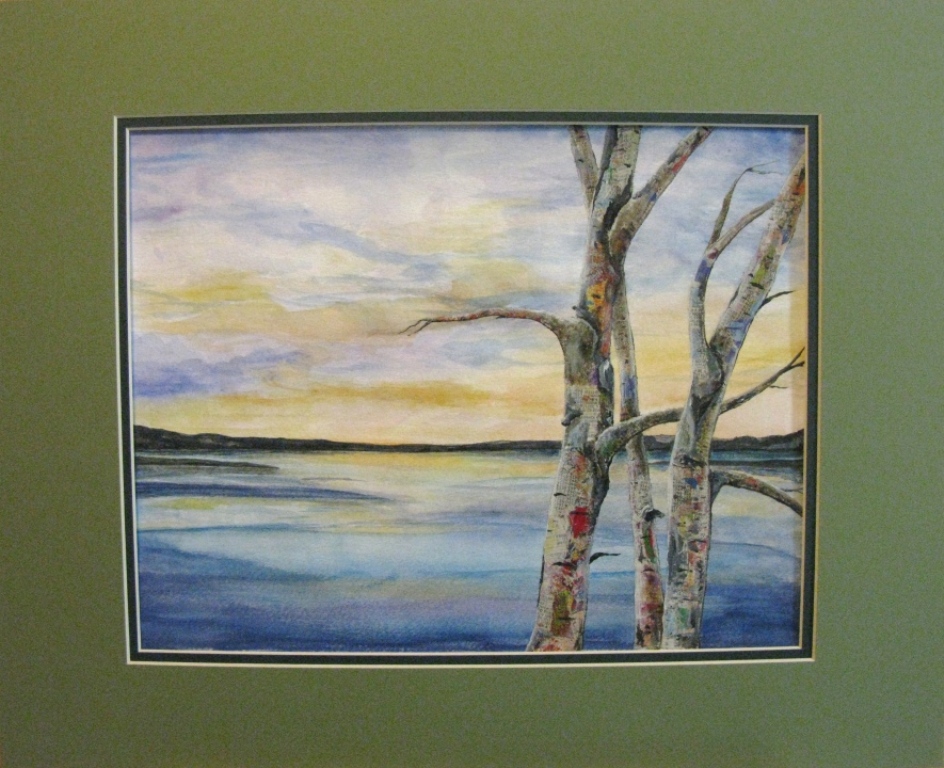
First I painted sunset scenery with watercolors as the background on Strathmore 140lb cold press watercolor paper (11in x 15 in).
The trees’ shapes are sketched with graphite pencil and painted with Titan Buff fluid acrylic. This acrylic paint layer will be insulating the watercolor paper from the collage paper.
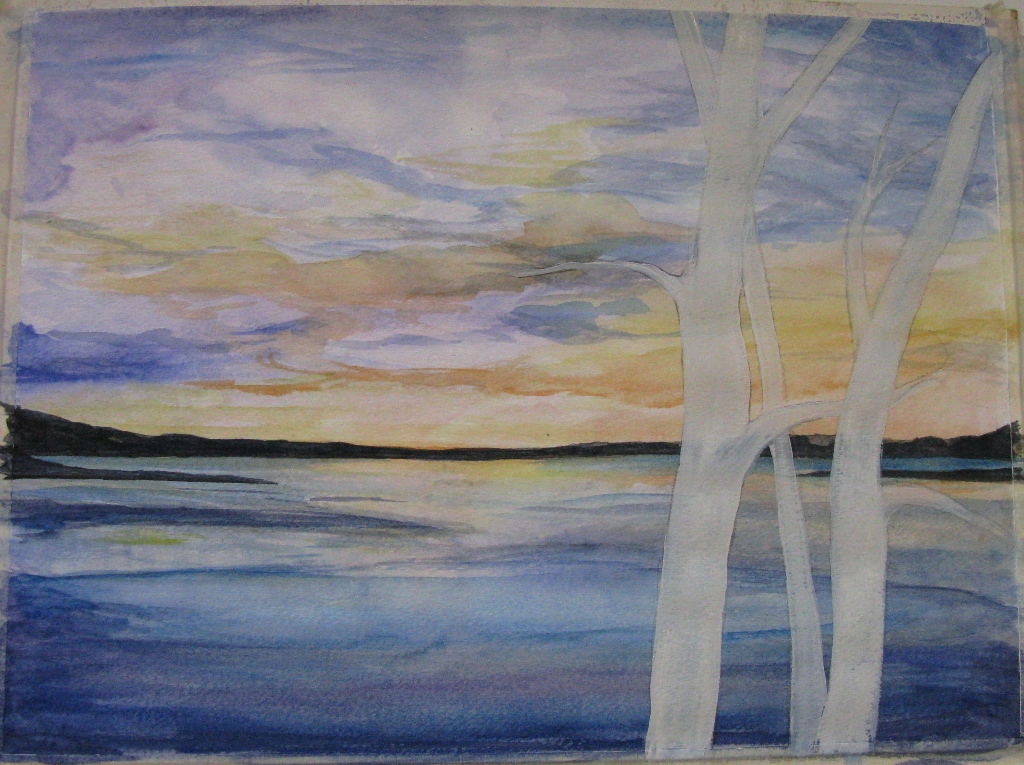
Liquitex Super Heavy Gel was used as an adhesive and a sealer for collaging. Torn paper is well covered with the acrylic medium, and the archival quality is not an issue anymore.
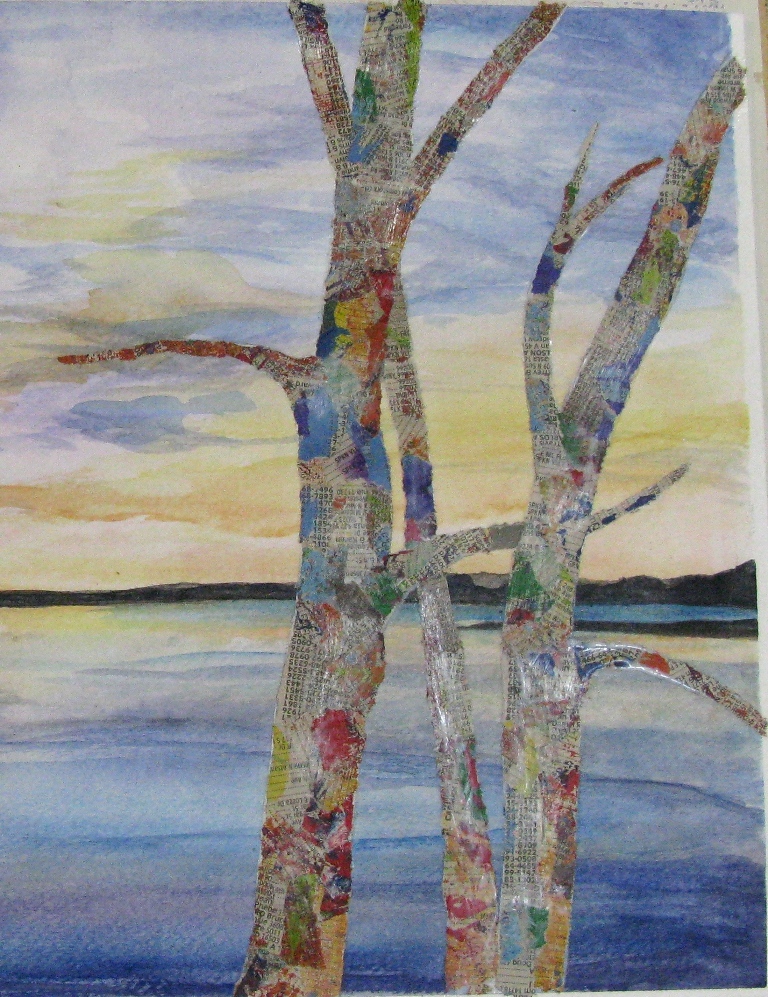
Details on the tree trunks are added with acrylics.
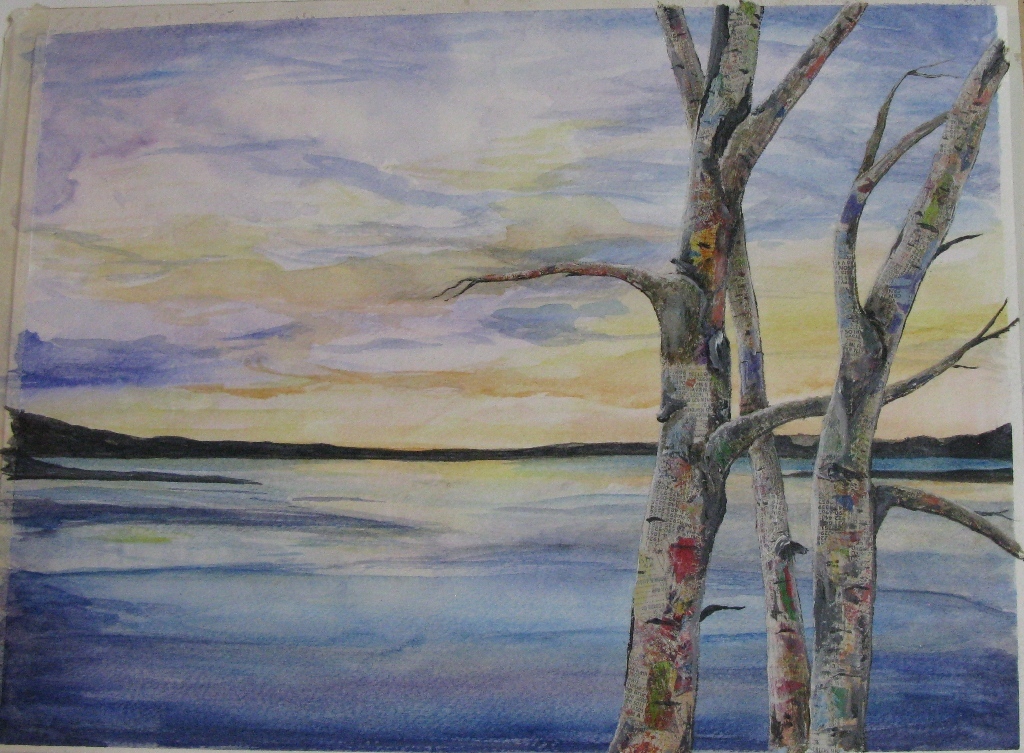
Finished mixed-media painting “Watching Sunset” is available in my Etsy shop.
One Last Example
One more example of the same torn paper collage technique: mixed-media acrylic painting on cotton panel “Stillness” (11in x 14in). Torn painted telephone book pages are used for the aspen trees and torn “crackled” paint chips are used for collaging the Ponderosa trees.
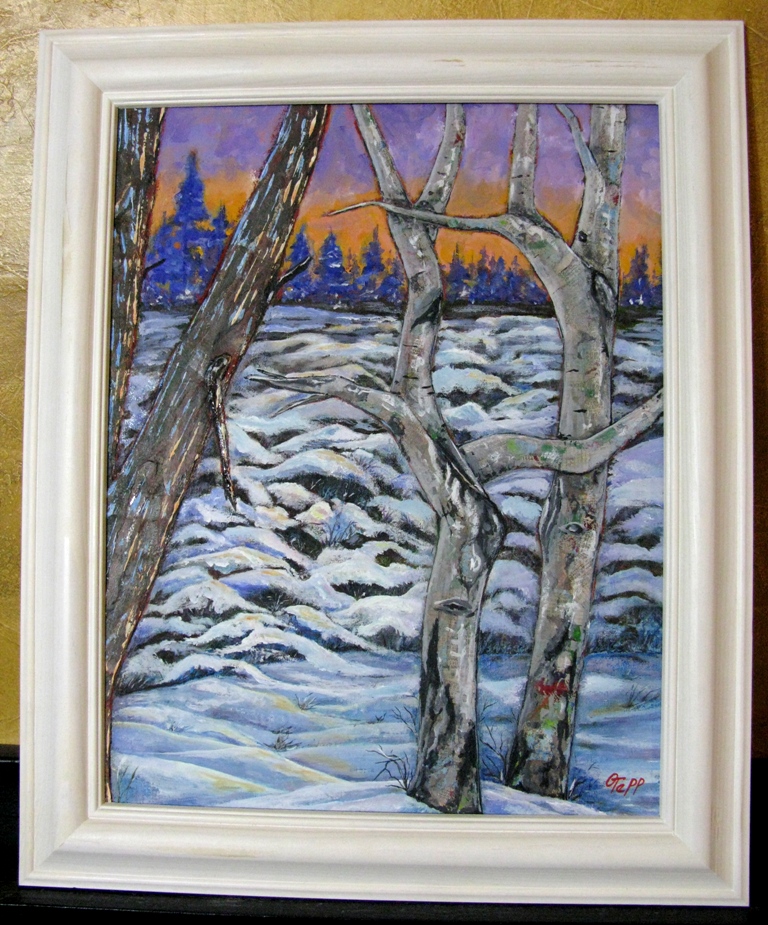
This painting is also available in my Etsy shop.
Wrap Up
As you see, the torn paper collage is quite a versatile technique and a good creative exercise. It can be used with different materials and mediums. I purposefully focused my tutorial on creating mixed-media collages with the tree images. Any paper bits can be used for this technique.
Art journaling does not require expensive art supplies and more often non-archival materials can be used for the art journal pages. Collage art is a good way to repurpose otherwise unwanted papers. It’s almost impossible to repeat exactly the same collage twice: every next collage will be different and unique.
About Oksana

Oksana Tepp was born in Ukraine in 1969, and grew up in Soviet Union time. Finished Pedagogical State University and became a Teacher of Russian Language and Literatures.
In 2003 Oksana moved to USA, worked as an Interpreter and a Russian Language Instructor at EWU (Cheney, WA).
Art and variety of crafts were always a part of daily life for Oksana. During Soviet Union time she was studying art and crafts for 10 years at the secondary school, where advanced art curriculum was provided. Later Oksana continued practicing art and crafts, and she considers herself a self-taught artist. Since 2010 Oksana is a full time mixed-media artist, working from her home art studio.
Oksana is happily married, and she is the Mother of three sons.
- Art blog: Artfully Imperfect
- Original art is available from my newly opened online Etsy shop: Artfully Imperfect.

This was awesome! I love the step by step! Thank you both!
what a fantastic post!!! LOVE the torn paper trees-beautiful!!!
How awesome that you found Oksana, Julie!
Great work! Thanks for the detailed tutorial too.
BTW Oksana – I also grew up ‘behind the wall’ (Eastern Germany) and moved to the U.S. in 2001 (currently in Sweden though) – the world is small 🙂
Cheers! Have a wonderful & artsy day 🙂
These are gorgeous! Thanks so much for the step-by-step instructions Oksana. Off to check out your etsy shop now.
HOw cool! I am going to try this!
I love love this so much!! Anything about trees makes me happy and inspired!! What a fun idea to use the telephone pages for them. Can’t wait to try this.
All of these are STUNNING!! Thanks so much for the great step-by-step for them.
That is quite an interesting technique!
OMG another life changing tutorial!!! Thanks Julie
Thank you so much for linking us to this wonderful discovery! Oksana is not inky a wonderful artist but a master at making art look easy. So many ideas are flowing now for this type of collage… 🙂
Thanks for that. It is just great.
Beautiful work… wonderful tute with all the step-outs. Off to check out Oksana’s blog.
Absolutely love this. And I had a Ukrainian grandfather and have always been drawn to all things Russian. Will definitely check out Oksana’s blog.
Julie-I found this collage tutorial so inspiring. Thanks!
What a wonderfully detailed tutorial for a delightful project. Thank you for your time and efforts Oksana, you are a very talented and creative woman.
What a fantastic tutorial–thanks to Oksana for so many examples and such detailed explanations. I am very inspired! And thanks too to Julie for hosting this guest post.
I am new to Art journaling,only been doing this a few weeks and am having so much fun.. Thanks for all the great tutorials I am learning heaps.. This torn paper one looks like something that I would like to try.. Thanks so much for taking the time to share all the great info..
Sandy 🙂
These are really pretty, I love how the paper shows through in the finished piece.
Wow! Thanks for the time and effort you put in expaining how to do this. Its brilliant! Please take a bow, you have earned it!
Shelly
Here you are…..lost you for a bit. Fan since way back. Welcome into my world of fun. Journalling every day – plus my Frida Kahlo Art being sold here – so every day something. Thanks for your ongoing help for people like me – Outsider Artists. All the best.