
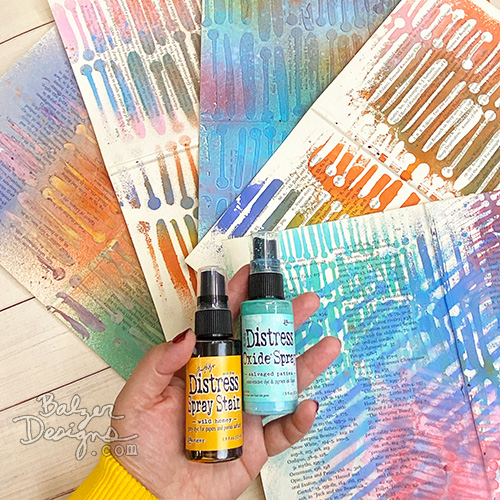
Today, I’m sharing some of my favorite stencil techniques using Distress Oxide Spray Ink and Distress Stain Spray Ink. These sprays are versatile tools for adding unique layers and textures to your art projects — which, as a mixed media artist, is always my goal!
Understanding Distress Oxide Spray and Distress Stain Spray
The key difference between Distress Oxide Sprays and Distress Stain Sprays is their opacity. Oxides have a slightly opaque finish, while Spray Stains offer brighter, more intense colors. Here are additional tips to help you make the most of Distress Oxide Sprays and Distress Spray Stains:
Tips for Using Distress Oxide Sprays
- Shake the Oxides: These sprays contain sediment that settles at the bottom, so give them a good shake before use.
- Storage Tip: Store sprays on their side to reduce mixing time.
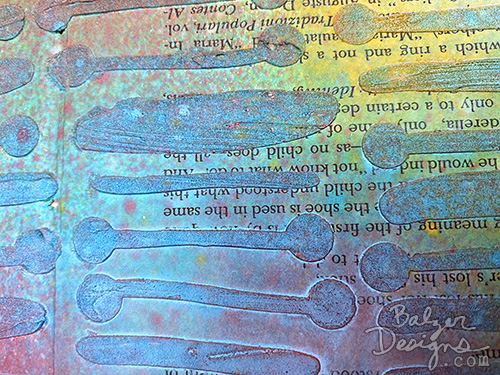
- Layering for Soft Effects: Oxides have a chalky, opaque finish, making them perfect for creating soft, muted layers. Apply light sprays and layer gradually for a dreamy, foggy effect.
- Water Activation: Oxides react beautifully with water, creating unique textures. After spraying, spritz water lightly to get a marbled or oxidized look.
- Blending Colors: Because of their opacity, Oxides blend well without becoming muddy. Use complementary colors for smooth transitions.
Tips for Using Distress Spray Stains
- Vibrant Color Layers: Spray Stains are highly pigmented and translucent, making them ideal for vibrant, saturated backgrounds. Layer different colors for intense depth.
- Layering with Drying in Between: Alternate between Oxides and Stains, allowing each layer to dry before applying the next. This prevents colors from blending too much and gives a distinct layered look.
- Diluting with Water: If you want softer, more diffused colors, spray water over the stain while it’s wet. This will dilute the intensity and create watercolor effects.
- Edge Dripping: Apply Spray Stains heavily at the top of your project and tilt the paper to let the color drip down for dynamic designs.
- Use on Textured Surfaces: Spray Stains work beautifully on textured surfaces like embossed paper or rough canvas, highlighting the texture while maintaining vibrancy.
- Mix with Other Mediums: Use Spray Stains over gesso or texture paste for unique effects. The translucent quality allows the texture beneath to shine through.
Watch the video for more:
The stencil in this video is called “Rows of Lines,” and it’s one of my designs for The Crafter’s Workshop. Over the years I’ve written tons of tutorials on using stencils. Find them HERE.
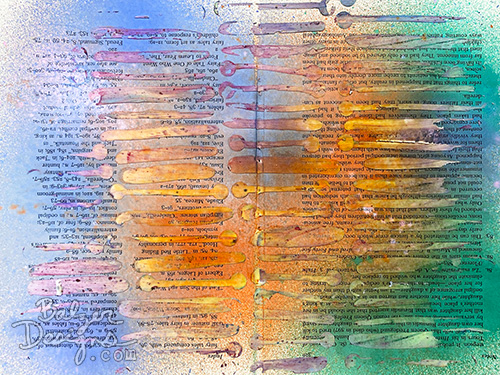
Technique 1: Stenciling on Book Pages with Spray Ink


I simply wanted to demonstrate the differences between the two sprays.
- Lay a stencil over a book page.
- Hold the spray about 4-6 inches away from the stencil. Move your hand as you spray to prevent puddles.
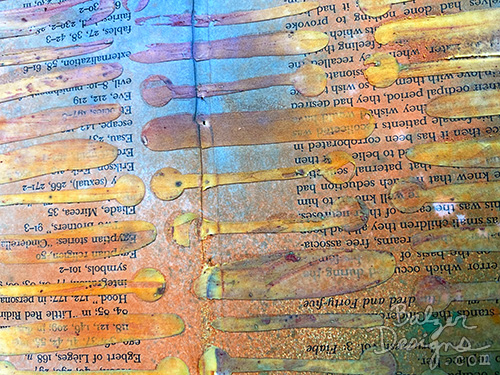
- Lift the Stencil and notice the distinct textures—Oxides appear softer, while Stains offer a vibrant pop of color.
- In the photos, the Stains are on the left and the Oxides are on the right.
- For a bonus print, press another book page onto the inked stencil to transfer the leftover design (second image)!
Technique 2: Layering with Multiple Stencils

Combine stencils for added complexity (I used the same design in two different sizes — 6×6 and 12×12):
- Layer Colors: Use both Oxides and Stains to build color depth.
- Flip the Stencil: Flip the stencil and press it onto another surface to create a mirrored design.
- Contrast Colors: Add contrasting colors for dynamic effects, such as a pop of red or pink over blue tones.
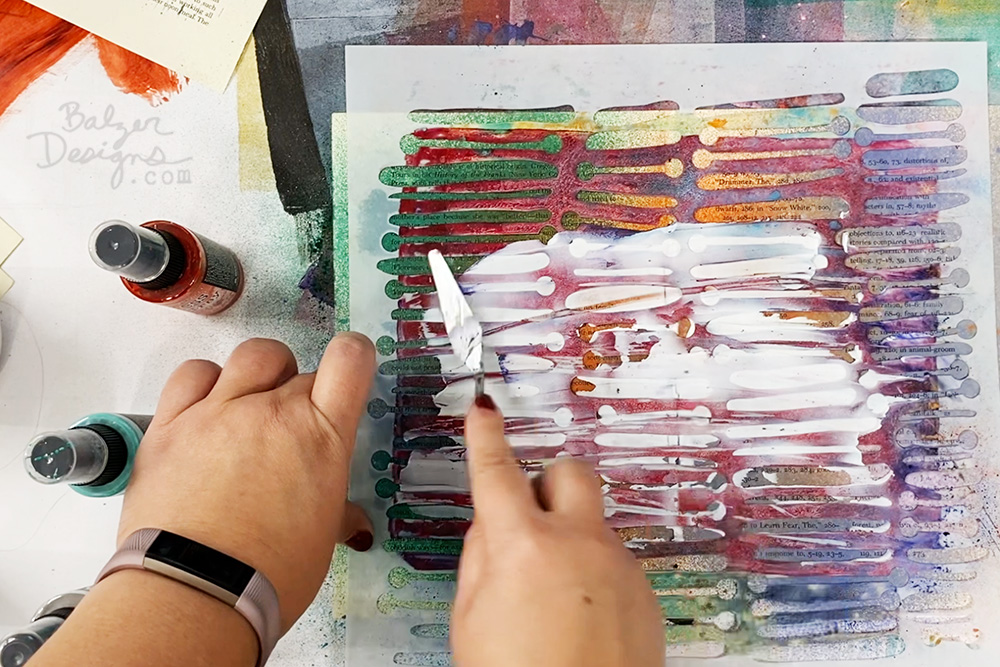
Technique 3: Adding Dimension with Modeling Paste

Modeling paste adds a tactile element to your stenciled designs:
- Spray First, Paste Later: Spray your spray ink, then apply modeling paste through the stencil.
- Paste First, Spray Later: Alternatively, apply modeling paste first, then use spray ink over it for a different look.
- Use a palette knife to smooth the paste, working along the stencil’s lines to avoid bleed-through.
- A dirty stencil will tint the modeling paste, adding subtle color variations.
- As long as there’s no dimensional medium drying on the stencil, cleaning isn’t essential.
Final Thoughts
- I don’t spray in a box and I don’t worry about it getting everywhere because I work on top of a big piece of paper.
- All Distress products are all water reactive. This means that even after they are dry, they can be re-activated. They tend to drift up through other mediums that are layered onto them, such as the modeling paste I used in the video. This is key if you’re a mixed media artist who works in many layers.
- If you spray in one place, you’ll get more roll under. If you move your hand while you spray, you’ll get less roll under.
- Distress Oxide inks tend to be slightly opaque and dry to a chalky finish.
- Distress Stain inks tend to be brightly colored and very transparent.
These techniques are easy to adapt to your creative style, so experiment and have fun. Don’t forget to check out my stencils and subscribe to my weekly newsletter for more tips and inspiration. Happy crafting!
Thanks for stopping by!
P.S. Did you know that you can make your own spray ink?

Love the results and the stencil. Thanks so much for the demo. Initially was not a huge fan of this stencil until I saw the grid pattern that can be created.Loved the effects, the layers and the stencil!!.
Great tutorial on Distress Oxide sprays. Your stencil is very versatile and deconstructing a book is brilliant. I usually just rip out the pages but not any more. Thanks Julie!
I love the technique but since I sell my work, the sprays need to be permanent and not fade. Do they fade? If so, is there something I can spray over the final product that will make them fade-free? I will buy lots of sprays if I can make sure they will not fade. Thanks.
I”ve used the spray acrylic sprays (marabu) and while I love them, they frustrate me – they clog! I’m not sure if the ink sprays clog like that, but I do like the permanence of the acrylic.