
If you’ve ever wanted to create your own handmade book—but sewing isn’t your thing—this project is for you!
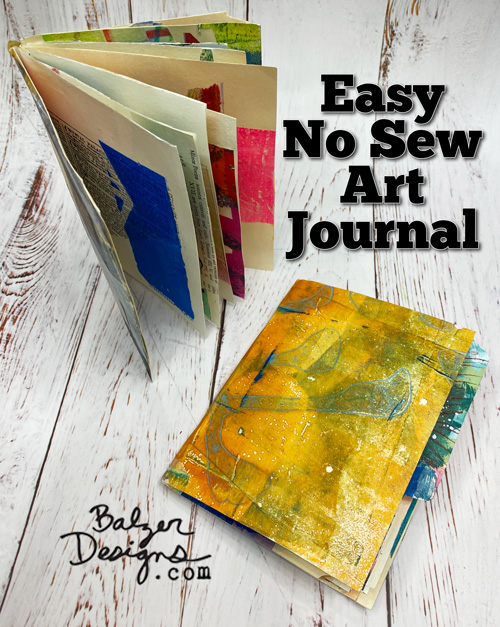
I looooove making books of all kinds. Today I thought I’d share a short tutorial for a no-sew book you can make with just paper and a pair of scissors.
Why Make a No Sew Book?
Sewing book bindings can be time-consuming and intimidating, especially if you’re just starting out. This no sew binding technique is beginner-friendly, requires minimal materials, and still results in a strong and beautiful handmade book.
Supplies You’ll Need
You probably already have most of these on hand:
- Blank or decorated paper for your pages (I used 6 pieces including two pieces of file folders)
- Scissors or a craft knife and cutting mat
- Ruler (optional) – I tend to be an eyeballer rather than a measurer!
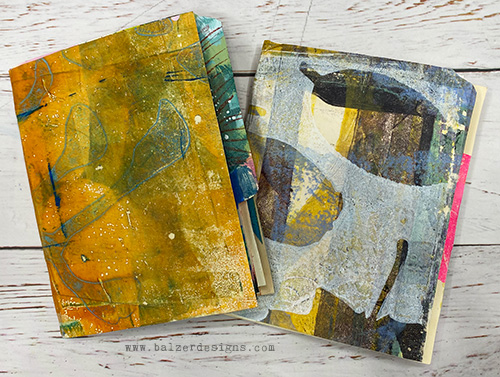
Tip: Use painted or gel-printed papers to make each page an art piece!
Step-by-Step Instructions: No Sew Book Binding
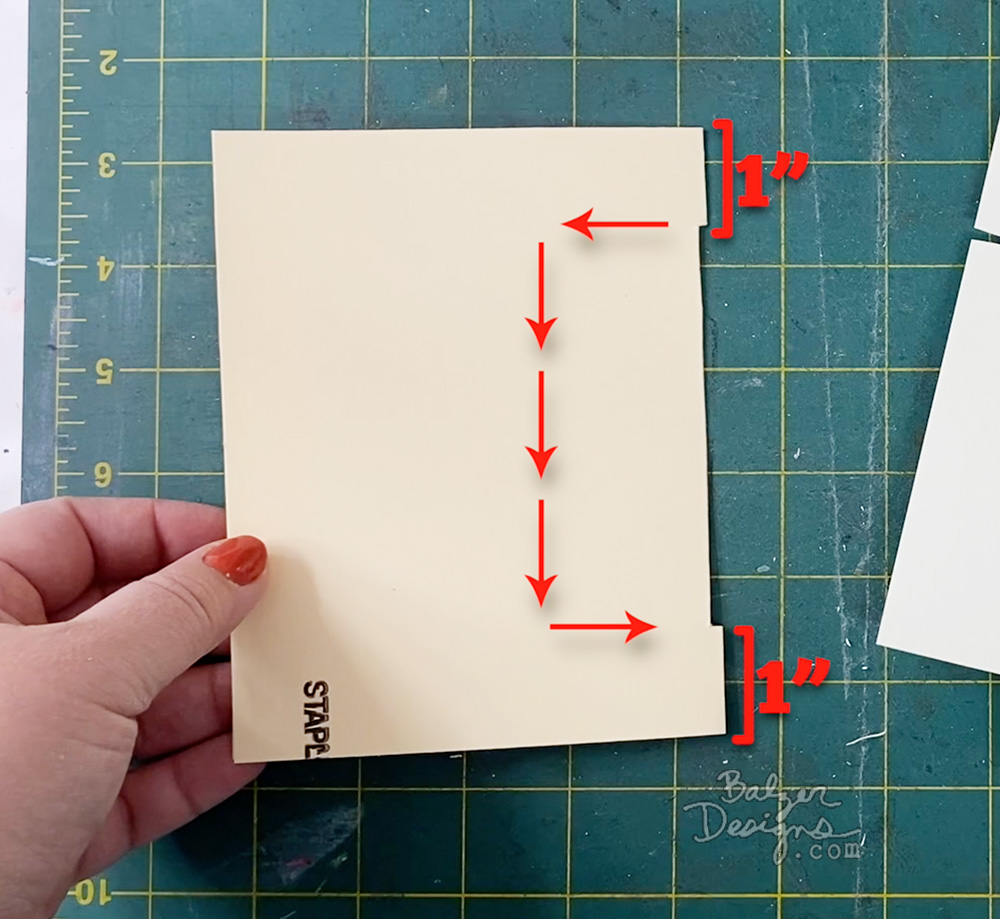
- Fold a piece of paper in half and cut a small rectangle shape from the fold area. Be sure to leave about 1-inch at the top and bottom.
- Fold 3-4 more pieces of paper in half.
- Cut a small triangle along the fold about 1-inch from the top and 1-inch from the bottom of each piece of folded paper.
- Stack the papers, curl them lengthwise – like a hot dog bun.
- Pass the curled papers through the rectangle you cut. Stop half way and open them up when the rectangle and the triangles line up.
- Decorate the book as you wish!
Ideas for Using Your No Sew Book

- Art journal for daily sketches or collages.
- Travel journal with mementos, like ticket stubs, plus notes.
- Mini scrapbook for photos and memories.
- Gift for a fellow creative friend.
- Art project to do with a child!
Watch the Process
If you’re more of a visual learner, here’s the step-by-step video tutorial for making this no sew book. You’ll see how sturdy and beautiful it is—without a single stitch.
Final Thoughts
Making a no sew book is an easy, satisfying way to dip into bookbinding without the fuss. I’m planning to use mine as small art journals/sketchbooks.
If you want more easy bookbinding, my class, “A Year of Gelatin Printing and Bookbinding” shares 14 different bookbinding tutorials — some simple and some complex. If you’re intrigued by making your own books, I hope you’ll check it out!
Thanks for stopping by!
I’ve never seen that before. That is very cool!
Your my fav, of all the artists who help inspire us.
Totally brilliant! you always inspire!
Certainly a new way for me of no sew. Brilliant! Thank you so much for continuing to inspire and share! You come up with the most interesting creative inventive ideas. I continue to be in awe after so many years being a fan. I have been a fan since you were married and lived in NYC> You never disappoint.
Brilliant! And just what I’ve been trying to figure out recently.
Thank you so much for all that you share and all who you are.
Happy Holidays!
LOVE this book form and video. Thanks. Have you tested to see what the max number of pages would work yet? I can think of lots of good uses for this little book, so I guess maybe I’ll be trying out the max number of pages. Thanks again.
Love this! Also a great way to make a simple greeting card with multiple pages. One of the residents where my mom lives wanted help with a Christmas/Thank you card to give to her favorite nurse. She had a vision of what she wanted to do but needed a little help with cutting with scissors. Her little booklet turned out so cute and the nurse was appreciative. I will tell her about this method, maybe make her one, so she can use it in the future. Thanks so much for sharing.
What a fun idea!