Today's guest post is by my sweet friend, Nathalie Kalbach. You may know Nathalie as the host of Creative JumpStart — the annual January art lesson extravaganza! You can still sign up for the discounted price of $50 until December 31, 2019. Don't miss out!
After getting into making patterns with my rubber stamp sets, I knew I wanted to take that idea and use it on a couple fabric projects. My friend Kim and I got together to put some of those lovely patterns to use on reusable shopping bags. Our neighborhood banned single use plastic bags this year so we wanted to be ready to shop with a unique tote or two.
The supplies couldn't be simpler: white (pre-washed and pre-ironed) cotton tote bags, a selection of my rubber stamps, and ink pads that are for stamping on fabric. We used Tsukineko Momento Luxe inks – you can find the links for those below.
We both took a minute to page through the pattern book I made with all those Nat's April Patterns. It has become a great source to go to for inspiration.
You can see the pattern book in this flip through video:
Before you begin stamping, put some cardboard or a magazine in between the layers of your bag so it doesn't bleed through. Be careful of any creases or gaps or textures in this – it will show up in your stamping. It is best to find something smooth for in there.
I started with the Jewett stamp from my Fan-tastic Large set and inked it up in yellow. The fabric ink is kind of sticky and you have to be a bit fast and also thorough with the inking.
It is easiest to start your pattern in the center of the bag and then work your way out. That way it will be even left to right and you can decide how close to the edges you want to go.
After two layers of the Fan-tastic Jewett Fan, I switched to the Hamilton design from the Floral Tile Large set and started stamping in a magenta color.
I finished off the pattern with a stamp from the Fanfare set.
My friend Kim jumped in with my Solid Fan in the large size to do a simple but cool scallop pattern. She chose a lot of different colors – don't forget to clean your stamps in between colors to keep the colors true. Also, you can see that with the solid stamp, the texture of the cardboard insert shows – not a bad effect but something to consider when choosing a liner.
Kim found another pattern in my book that she really liked – very geometric and bold. She chose three ink colors. The pattern needed one stamp from the Small Hex set and the two Diamond Hex stamps from the Large Hex set.
She started with the red ink and then filled in with yellow, and finally magenta.
Looks awesome! And it shows you don't have to cover the entire bag.
I love the variety! Remember to follow your ink instructions for setting the ink. Every fabric ink is different. These will need to be ironed to heat set the ink.
I'm ready for a plastic bag free city 🙂
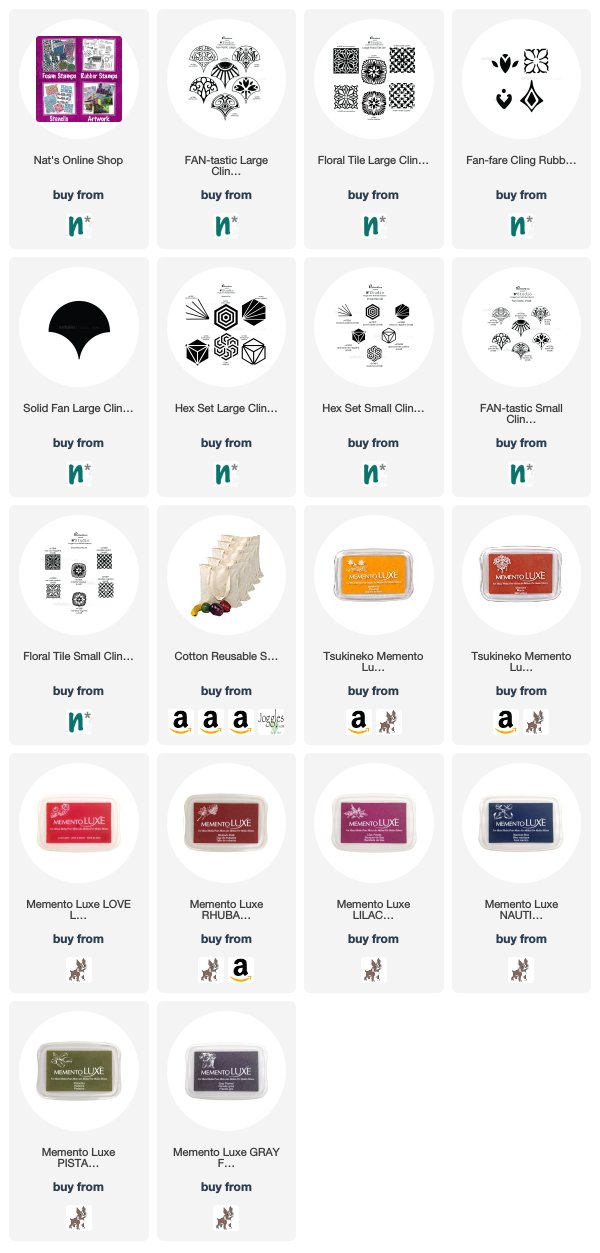
Here are some of the supplies that we used:
Thanks for stopping by! – Nat
I am a self-taught mixed media artist. I was born in Germany and lived most of my adult life in Hamburg before moving to the United States in September 2013. I now live in Jersey City, NJ.
My early love of paint was squelched by an art teacher who told me I had no talent. I worked as a paralegal for seventeen years and might have remained in the wrong profession had I not discovered mixed media painting in 2004.
I regained confidence in my creativity and have spent the last decade exploring the possibilities of creating dimension and texture by layering different materials and paint media. I have worked in art journals and on canvases, incorporating collage and found objects. My projects have been published in several art, craft and hobby magazines as well as mixed media books. I have taught at many retail events and art retreats, as well as at trade shows, and by 2011 I was able to give up working as a paralegal to become a full-time artist.
Since 2006 I have taught workshops in Europe, Canada, the U.S., Australia, Israel, Malaysia and online. Since Spring 2015 I have taught Mixed Media Workshops at Pratt Institute for the School of Continuing and Professional Studies. In March 2016 I released four Acrylic Paint workshop DVD’s with ArtistNetwork TV (Colorful Foundations, Mediums Demystified, Raw Canvas Staining, and Creating Texture Canvases) In my workshops I share what I know about tools, supplies and techniques, with the goal of helping each student unlock his/her personal creativity.
My artwork is licensed through StencilGirl Products (stencils), RubberMoon (rubber stamps), and ArtFoamies (foam stamps). My work has been featured on the packaging for Liquitex Acrylic Painting Sets sold at Michaels art and craft stores. From September 2014 until October 2015 I was a sponsored artist/brand ambassador for Liquitex.
In June 2017 my Book Artful Adventures in Mixed Media– Art and Techniques inspired by Observation & Experience with North Light Books was released.
Find me online:


amazing website
amazing website
amazing website
amazing website
amazing website
amazing website
amazing website
yes
yes
yes
yes
yes
yes
yes